What Can You Do With a Hopper?
Hoppers are a staple of every model railway so I had to make some. As usual, I’m starting simple and will add some complexity once I have the basic design down. Or not. Hoppers are quite basic in nature.
In post 16 I printed my first hopper design. It was not good. Proportions were wrong and it was hard to paint.
The designs here are variations of the same basic design, extended or edited in minor ways to create variations.
A Big One
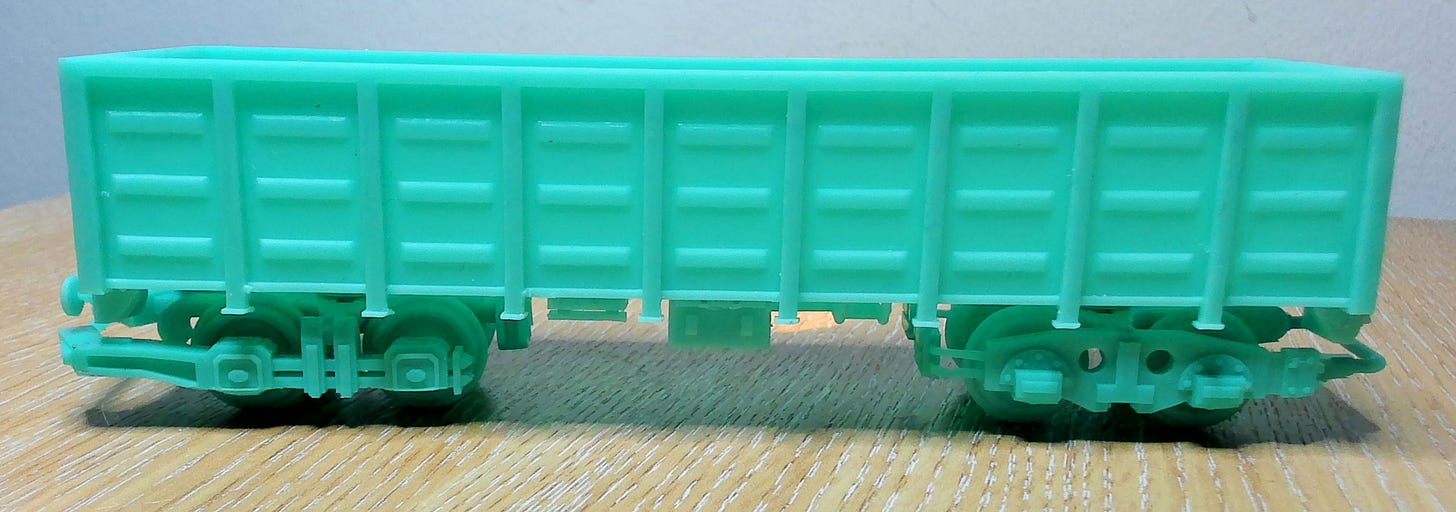
This is the last design I made but am showing it first since it has been shown in post 15 where I was demonstrating bogies.
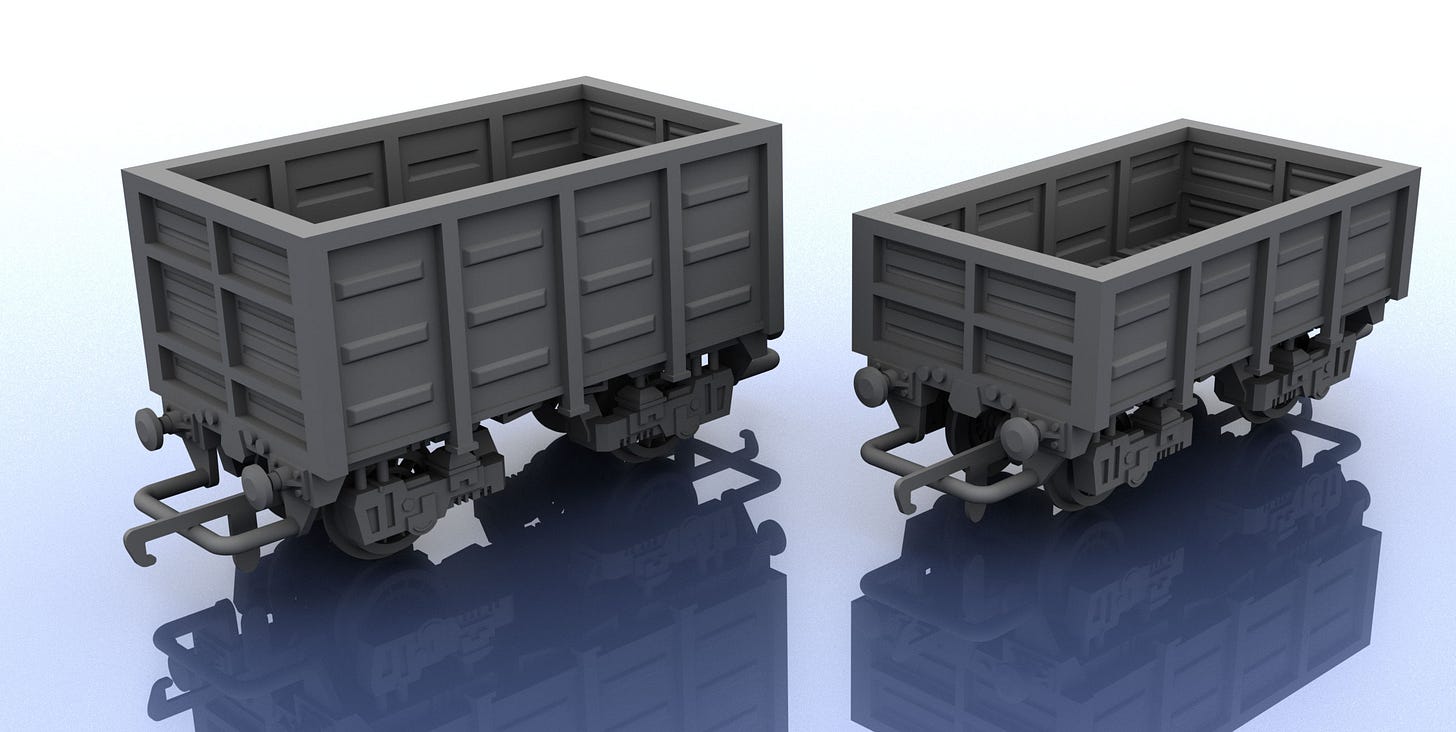
I tried to liven up the design with some? I don’t know the names of this stuff. The bars across the long sides. They’re convex on the outside, concave on the inside. This is inverted on the shorter sides, with horizontal bars being convex on the inside and concave on the outside. Other details I’ll talk about in the print screenshots.
Total length, buffer to buffer, is about 6.1 inches or 155mm. That’s pushing the limit of my Mars 2 printer. It only has a 129mm(L) x 80mm(W) x160mm(H) build plate and 2k resolution. For this to print I had to angle it as far as possible, since the 155mm model height didn’t take in to account supports.
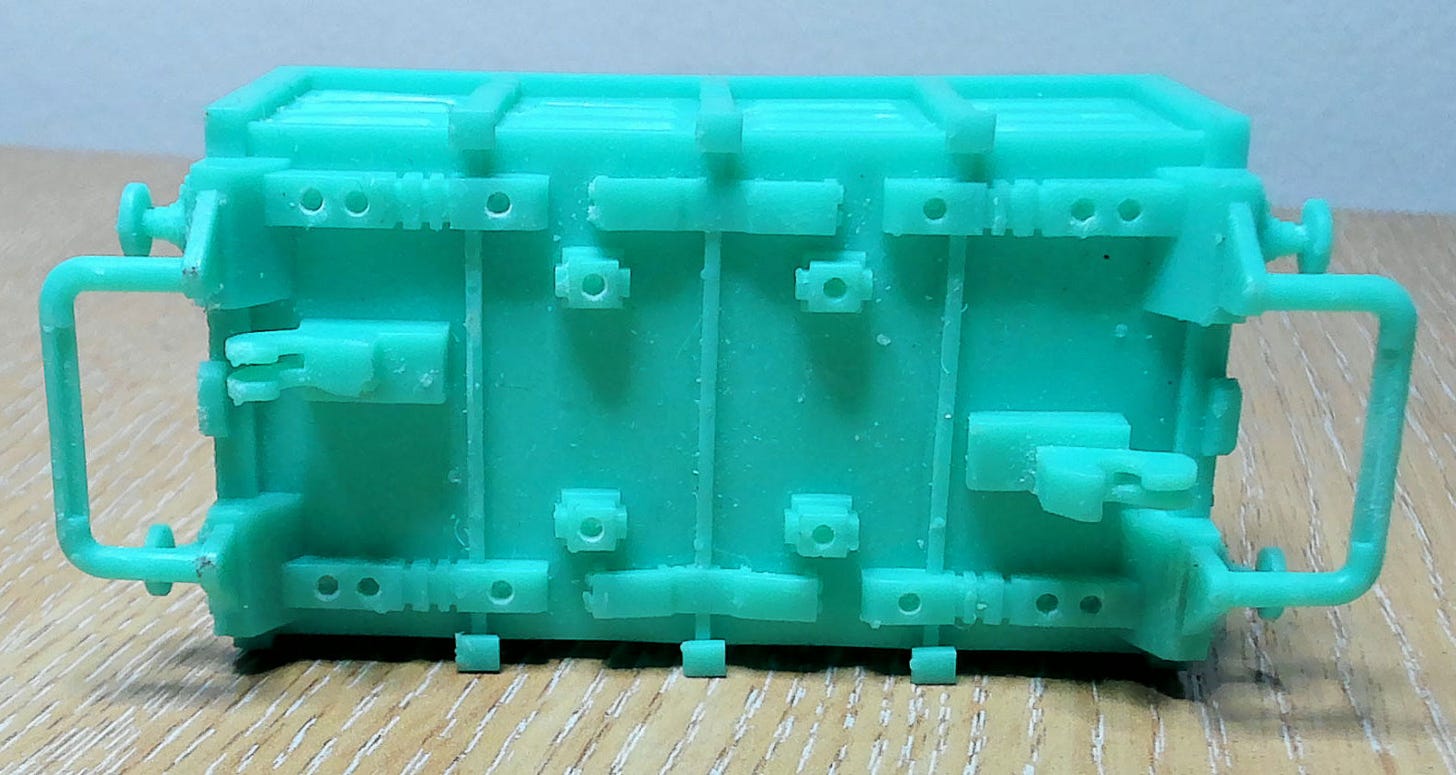
There were issues with the print. Seems there are always issues! I was very happy that the flat areas didn’t warp or band at all though. Resin printers don’t like flat surfaces. Apparently.
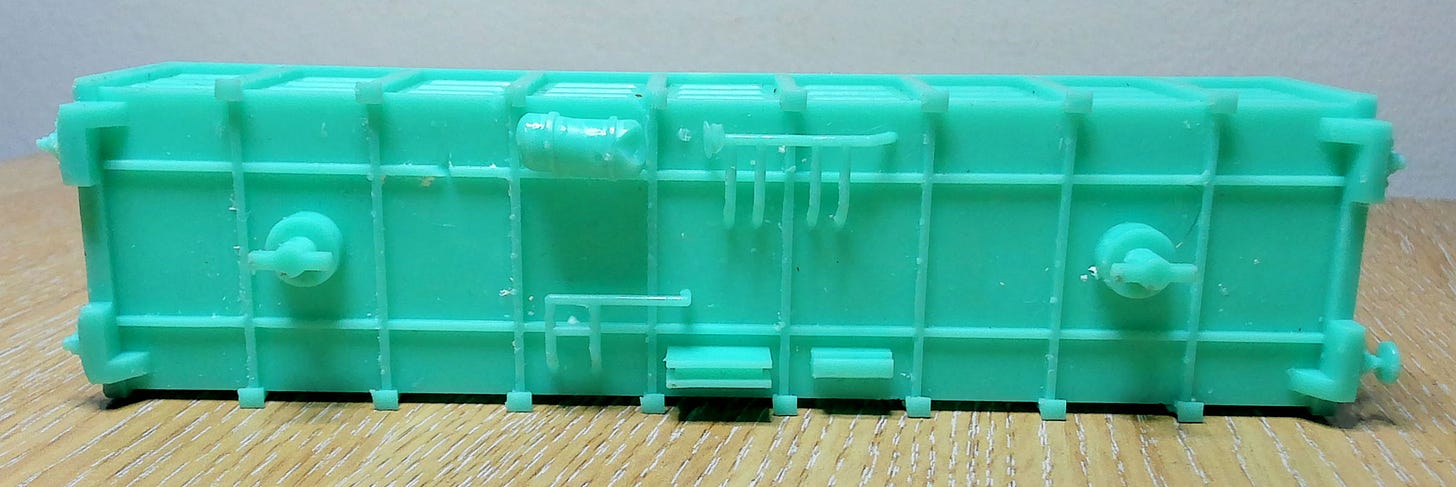
Some of the thin square parts on the underside of the vertical beams didn’t print fully. I’m unsure what to do about them. They’re so small that I can’t print them separately and glue on. Without them the model looks too bland. Perhaps add more supports? I could make them a little fatter? Or it could be printer settings?
There wasn’t much detail on the underside and… errors.
Only 2 errors. Which is a win when resin printing.
The barrel, to the top, was dented and a little warped. The bar area below it had a section which didn’t stick to the chassis. The top bar area has a flattened side facing the barrel. All of which I think could be fixed with better supports. But won’t be.
My thinking is to rip off all these underside details, print them separately and people can glue them on in any variation they want. Or not at all. That would lower the chance of failures ruining an entire print. Would also make vehicles more unique per person or layout.
I’ve explained the T pins before…
…they’re for bogies. It’s a simple, reliable design that works. Although I’m thinking about also making them printable separately. This would, again, reduce the chance of failed prints but also add support for different bogie designs.
My bogies were meant to be interchangeable between stock. That means each chassis needs the same level of clearance with detailing underneath. If I make the connecting pins a different height then there’s more freedom with bogie designs.
Then again, I could just add more or less thickness to the top of bogies and accomplish the same thing. Removing the T pins sounds like a good plan to me.
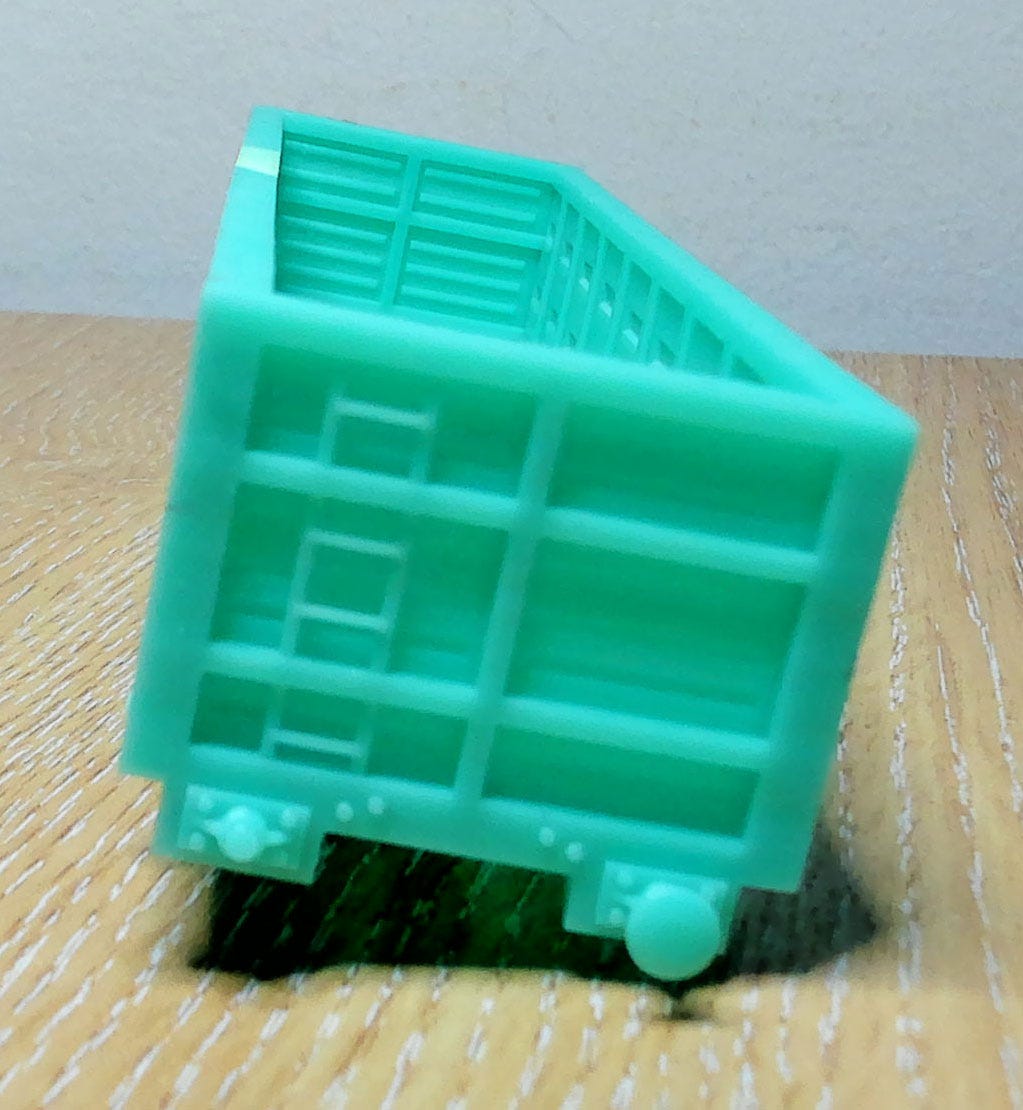
Out of the 4 buffers, only 1 survived. This wasn’t a failure in printing, it was the hands of a 6’4 person trying to be delicate when removing supports. Again, I could make these separate objects, however I’m just going to thicken the rods connecting them to the chassis. If they break this easily within a few minutes of use then I don’t hold much hope of them lasting long term.
The tiny ladder, which was the piece I expected to fail the most, printed perfectly on both sides. I don’t understand resin printing. It’s all random. This ladder is also a candidate for being ripped off and printed separately. Not for reliability, more for painting. Does it matter on something so small? I can’t paint so have no idea.
I was impressed that the studs around the buffers printed so well.
In the above picture there looks to be warping running the length of the tops of the long sides. I think that’s a wonky camera? Looks fine to me in the real world. If it were a little warped, I like it. In reality these vehicles take a beating and shouldn’t be perfectly straight.
With some minor changes noted for future prints, this went in to the saved folder. A simple design that I imagine many others have printed and drawn. It works.
Small Ones Are Better
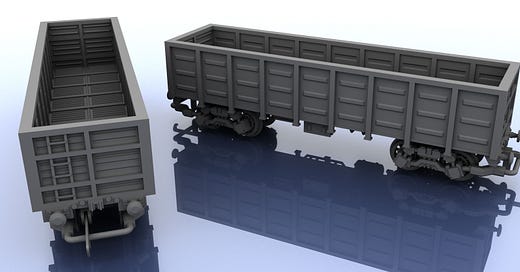
The extend vehicle in the previous section was based off these initial models. Well, model.
My first design was the one on the left. Down the long sides are sets of 3 vertically stacked horizontal bars. I sliced off the top set and ended up with the lower design on the right. For the longer design in the previous second, I simply cloned the middle part and welded it a few times.
It took literally a few minutes to both cut and extend the initial design and create 2 variants. That’s what happens when you build a mesh correctly instead of downloading free crap off the Internet.
In previous posts I’ve noted difficulties in painting my designs. With this in mind, I took a different approach to these small hoppers.
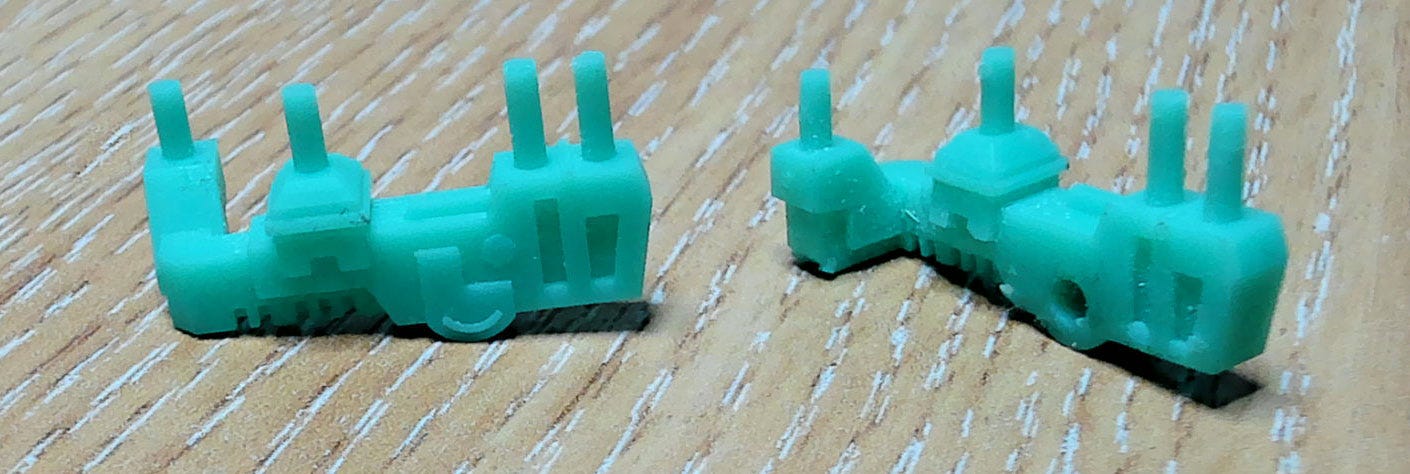
I separated the axle housings from the chassis. Same old story; more reliable prints, easier to paint, to remove supports and file down areas. This created a potential stability issue though.
3D printing is not too accurate when requiring exact tolerances. In order for this system to work, axle mounts need to be exactly the same height. That’s tricky. Sometimes the rods are a fraction smaller or their mounting holes aren’t quite deep enough. This is tricky to correct with a file and naked eye.
If the axle mounts aren’t within a certain tolerance, it could create a wobble when in motion. Possibly. What’s more likely is the vehicle will be tilted ever so slightly to one corner or side and look weird. These aren’t why I abandoned the design.
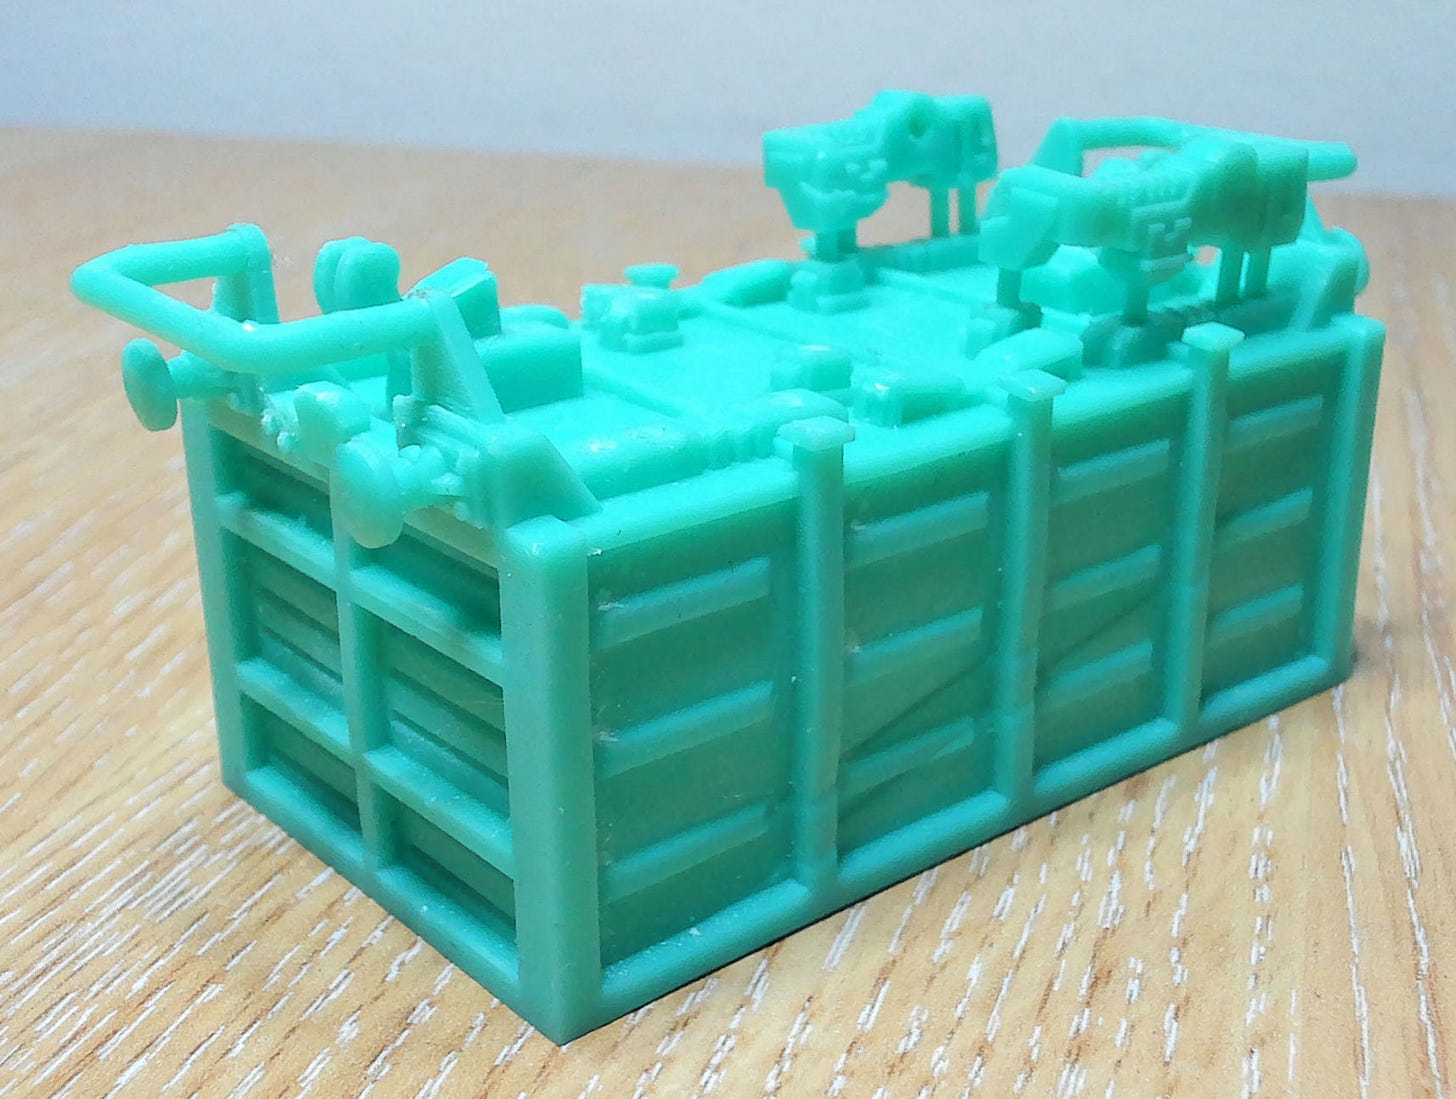
There’s not much space for the rods to push in to the chassis. Just over a couple of millimeters. Obviously the rods need to be glued in place to not fall out. Even with a tight fitting tolerance and glue, these mounts feel very flimsy. When fitting my flexible plastic wheels I was worried the glue wouldn’t hold. I didn’t dare try fitting metal wheels.
What’s the solution? Counter to everything I’ve said before; make them part of the mesh. This adds more rigidity than glue provides. It also adds 4 failure points to each print and makes fitting axles a little scarier.
The axle mounts printed perfectly first time. I also fitted both plastic and metal wheels without issue. The mounts feel way more rigid than with glued objects.
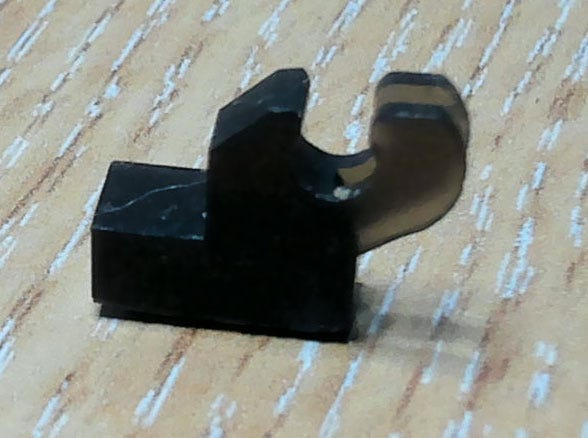
Even with primer it’s hard to make out which areas failed from the images. Take my word for it, the grab hook mounts at the left/right sides (for connecting to other vehicles) failed to print fully. This is an ongoing issue I was finding very hard to fix. Can you guess the solution?
Create small guide holes in the chassis and print them as separate objects! I imagine these areas would be prone to failure when running for extended periods of time, so having them detachable makes sense. If broken, it can be chiseled off and another fitted. Designed to be repairable. Not to fail. I don’t want these models sting on a shelf their entire life. They should be played with. They are toys. Deal with it.
Above are my 2 smaller hoppers printed with a quick dab of primer. I’m on to my black resin now and the camera picks up almost no detail unless primed.
I’m not completely sold on the design of the axle mounts. The 3 rod connections work well, however the detailing on them feels too futuristic for such a basic design. Might have to come back to them one day…
Next time
I’m not sure. Maybe my futuristic styled hopper just to complete the hopper set? Then I’ve got some more crazy stuff to show off.


