3D Resin Printing 00 Model Trains #3
First successful 00 wheel prints and alignment tweaks
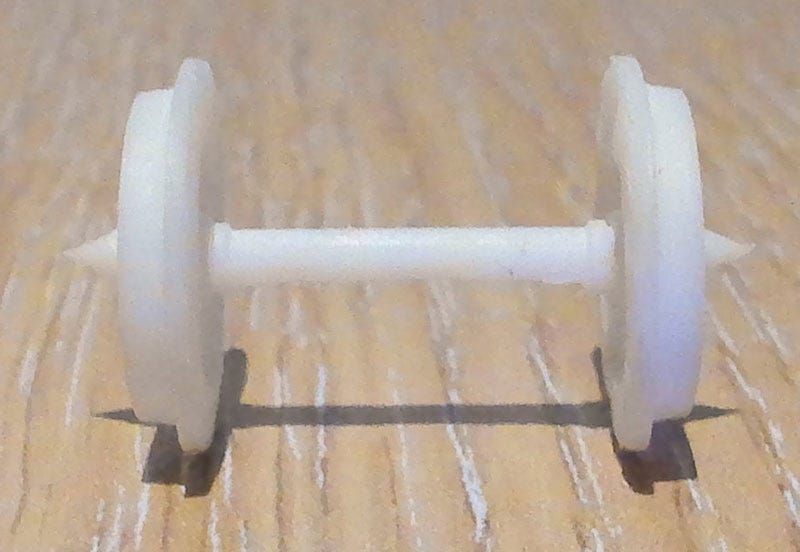
Success
It only took 1 failed attempt to learn.
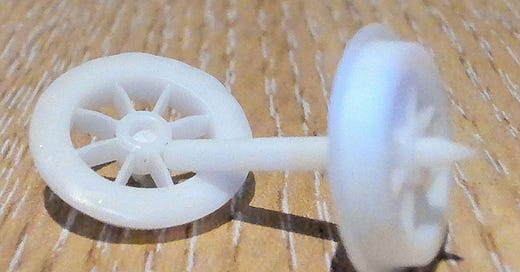
Reminder; these are 00 scale and had minimal post-print work done to them. Supports were removed and lightly sanded down. That’s all.
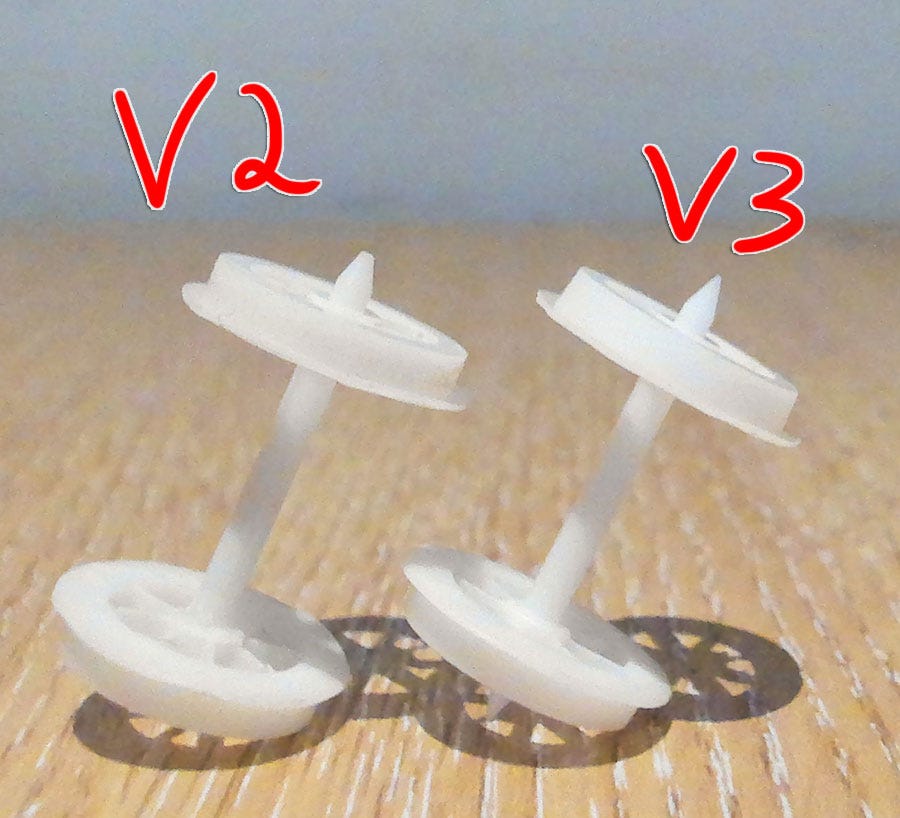
The flange is still warping on the v3 model. Not much to do about that other than make ever so slightly thicker. Don’t really want to. I could tweak printing settings but I’m happy with how the rest turned out. Very happy.
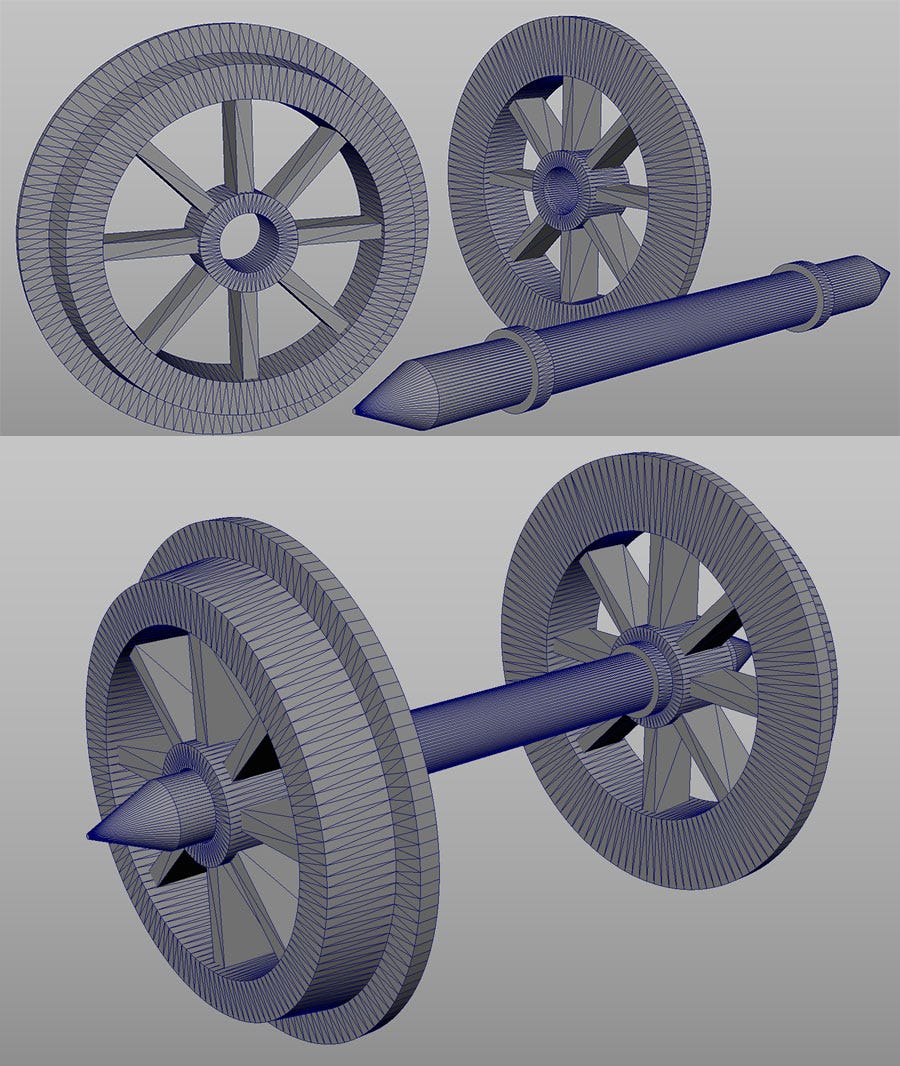
Differences you may notice between v2 and v3 is diameter of the outer wheel. This was reduced in v3 which gives more of an angle. I like the v3 version better but… it’s plastic. Doesn’t the angle rubbing against the flat track mean it’s going to wear down quicker? it would help keep the train centered. My trains are more for display than long term layouts so it’s not a problem for me.
The outer axle edge of the v2 print was filed down to see if it would fit better in the chassis. It seemed to have no effect on anything. Which leaves me indifferent as to pointy or flat axle ends?
With seemingly successful prints looking as I want, an obvious issue with the inevitable came about.
Connecting the Pieces
The axle in the v2 print would slide in it’s cavity. I had to gently sand the edge of axle to coax it in. The 0.06 mm gap, 2 printing layers, wasn’t enough. This was increased in v3 by 0.1 mm. The fit is now so perfect that it doesn’t need glue.
Despite the snug fit, there was an issue I hoped wouldn’t exist; the wheels need to be manually aligned. Damn it.
Even with the tightest fitting, the axle doesn’t reach far enough inside the solo wheel. It never can. There’s not enough space in the mesh. Angles look fine when idle. However there’s a distinct wobble when rolling along a track.
The wheels are under a train. A slight wobble won’t be noticeable, shouldn’t affect performance and hopefully won’t derail the chassis. It’s still something I would like to fix or at least minimise.
I have 3 fixes in mind:
Wheel stands.
Forget the cavity, make holes for the axle to slide through on both wheels. Make the axle a separate object. This way the wheel can slot through both wheels with little to no play.
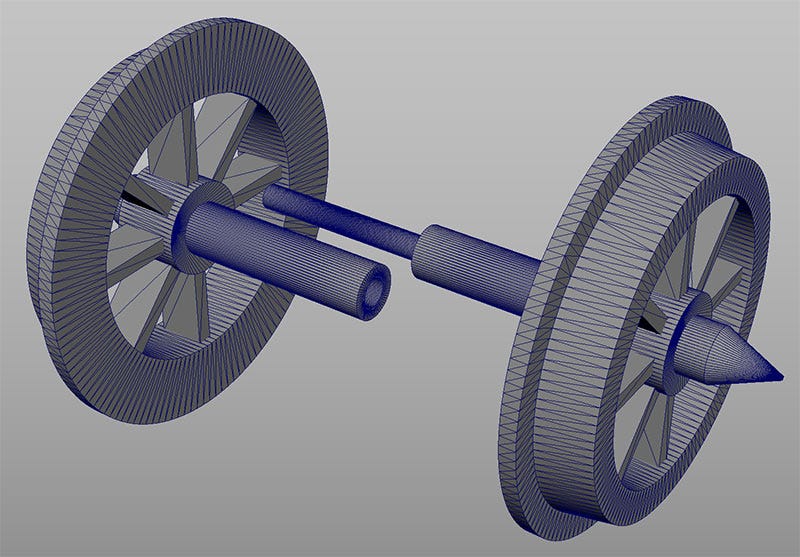
Split the axle in half. Each half is attached to a wheel. One half of the axle is hollow, the other half is thinner to slide in to the larger piece.
Option 1 sounds like the easiest and it’s first on the list!
1. Wheel Stands
This is the simplest all round solution. It could work with multiple wheel designs so wouldn’t need printing per wheel set.
I don’t think this will solve the issue though. It relies on the 3D printer being 100% accurate. While it’s good at organic detailing, I don’t think it’s meant for industrial tolerances.
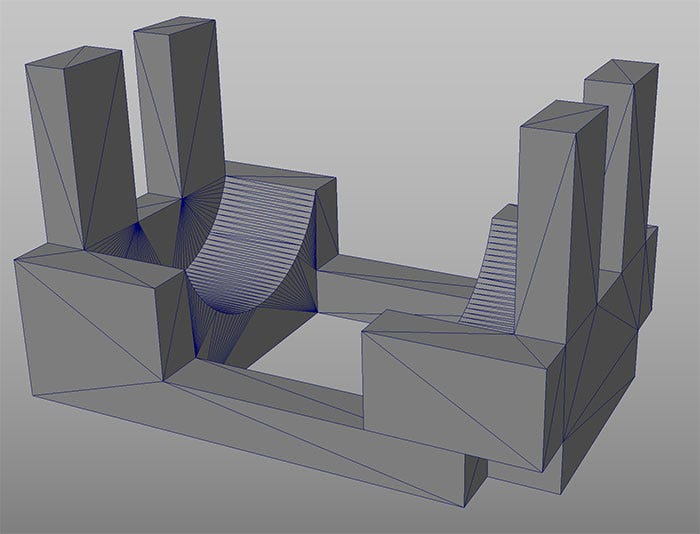
Still, it’s something to try. I’ve only made a couple of prints so far and need the experience. Here’s my design:
It’s 2 printed pieces which slide together. The circular grooves where the wheels rest are 0.1 mm bigger in diameter than the wheels I print. Wheels aren’t mean to fit perfectly in here, rather stand freely.
When the wheels are in place and the 2 pieces are pushed together, it’s the vertical pillars which stabilise the angle. Hopefully. The angle discrepancies should be less than doing it by hand and waiting for glue to dry.
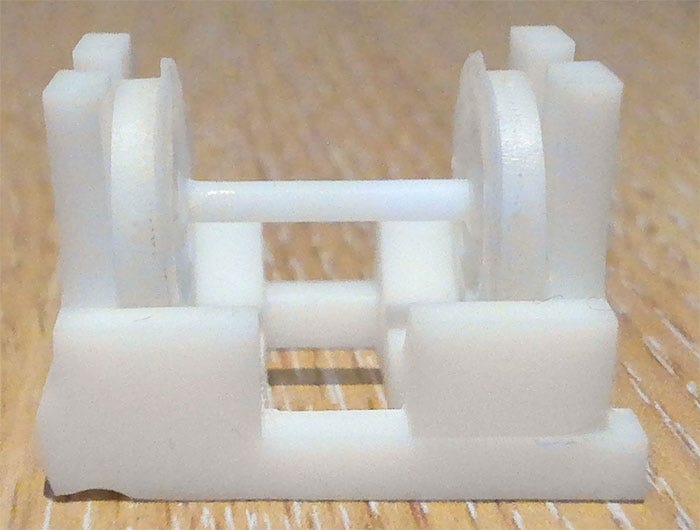
Not great. It’s good for holding the wheels in place while the glue dries. That’s about it. There are 2 issues:
Tolerances on the printer aren’t great. The 2 pieces slide together snugly, but the vertical braces are slightly off. This would create a minor wobble when pressed together.
It could be redesigned to have a brace over the top as well, making a square unit that slides together. Not confident it would reduce the wobble though.
I Have a wheel stand now and I think that’s all it’s good for.
2. Hollow Cavity
Using my successfully printing spoke model, I can bodge something together in a few minutes.
Make the axle a separate object. Add some small stoppers to it for the wheels to rest against. These won’t be used for angle guidance.
The axle has a 2 mm diameter, fitting through a hole with a diameter of 2.12 mm. That’s a 0.12 mm gap which I’ve previously used as a tight tolerance.
How to print the axle though? The wheels lay flat, with their inner sides facing down. The shaft I’ve printed horizontally rather than vertically. This will increase printing speed and reliability, though there will be support residue around the axle.
Previously the axle was printed vertically and was used as a support for the wheel. It’s not longer attached to the wheel! I’m concerned more supports will be needed if printed vertically, so I printed it flat.
Printing time is the most affected with a nearly 2 hour print now estimated at 37 minutes. Pretty cool. If it works.
The wheels printed perfectly but the axle was pancaked. It had 6 medium supports but I thought this would be a good opportunity to play with rafts. Won’t be using them again anytime soon.
I added the same supports with no raft, but slightly bigger bases. Printed fine.
I did just enough support filing for the wheels to slide on and… they did. Perfect fit. They had to be shimmied a little, but the fit was so tight that the wheels would stay on without glue.
The wobble is either nonexistent or so minor that I’m struggling to notice. Whatever wobble remaining may simply be a slight flange warp? It rolls down a track fine.
I’m very happy with the results.
3. Split Axle
I was a tad concerned that the small connecting rod is too thing and would warp when printed. If the hole it feeds in to is too small, I can file the rod down a little. It’s no hassle if it fixes the wobble.
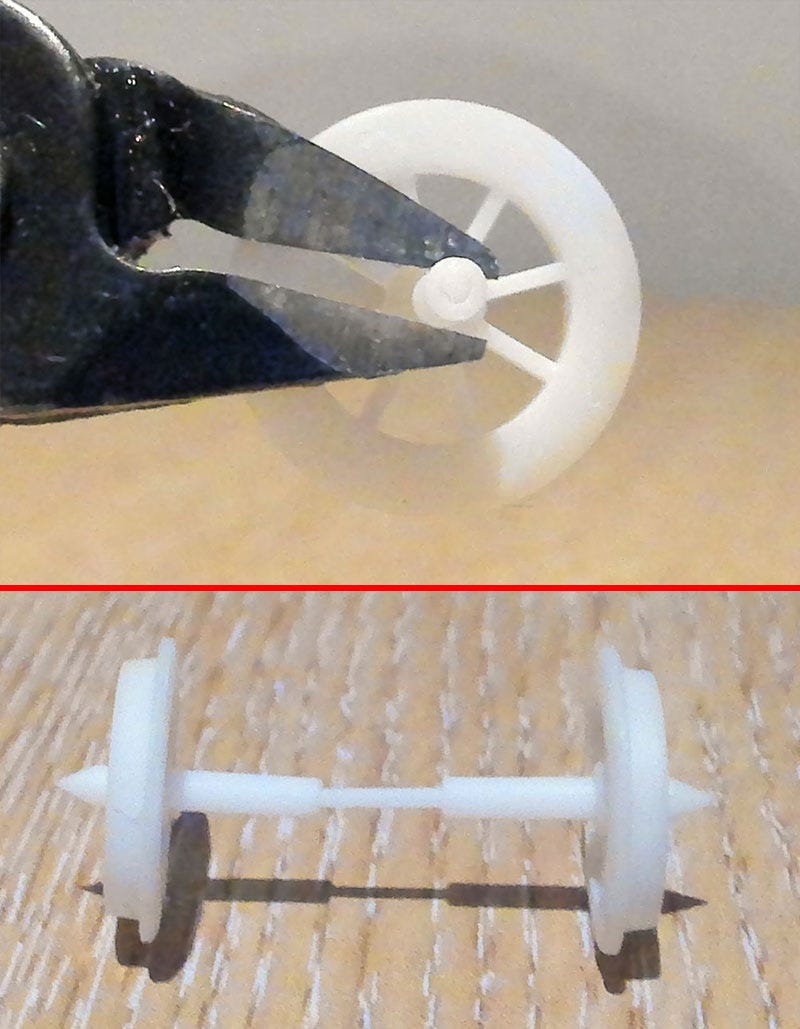
This one printed perfectly in terms of detailing and scale. Normally I scrape the supports off the build plate while the model is still attached. In this case I was concerned such force could snap the small rod. Therefor I snipped the supports off first, then scraped the build plate. Perfect.
An unexpected issue arose…
I can’t get it in!
There’s maybe 0.1 mm of penetration. The rest of the chamber is clogged. Supports were not used inside the chamber, obviously, but resin appears to have cured inside anyway. Could that be fixed by changing printer settings?
As with all my other prints, it went through the wash and cure machine. That does a good job of clearing out excess resin.
I don’t have a small enough drill bit to hollow it out. Even if I did, my wobbly hands would likely shatter the chamber. There’s also no guarantee the angles would be any better than with option 2. Which is far simpler.
Nice idea but I think this is a bust.
The Solution
Option 2 is the future.
massively reduced the tiny bit of wobble.
It’s a reliable print.
Works with every design due to the way wheels connect to chassis’.
Could be mass produced (I won’t) then specific wheels printed as required.
Holds without glue!
Glue it.
Wheels and axle can be painted first, connected later.
Now the boring bit is done, I can start designing some unique wheels.


