3D Resin Printing 00 Model Trains #6
My final attempt at playing with wheels... and it's not a rage quit
Why Even Bother
It’s helping me learn the limitations of a consumer level resin 3D printer. Of which there are a lot and no one seems to have pointed them out. That’s what happens when you’re a talentless e-begging shill who will say anything on YouTube for a sponsorship.
These printers aren’t good at flat surfaces. They’re terrible; warping and bulging with any settings. Fantastic for organic models I’ve printed, but that’s not what I wanted to do. The level of detail is great but what’s the use when a simple flat surface can’t be accurately printed.
I’ve made some adjustments to my failed models from the previous post and have tried printing them again. With some success. Also, some non-success.
While watching the old up and down, I did read some articles on how to fix print issues. Pretty much all the information was worthless. Nonsense like temperatures and levelling the build plate after every single print. It makes no difference. I would assume newer printers all come with heated vats now? Of course they do. Better remember to brush your tongue too!
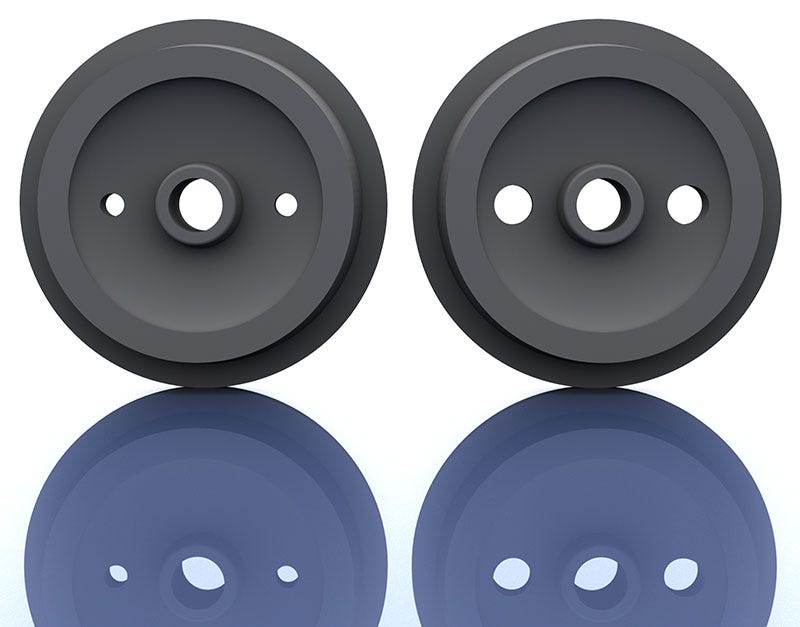
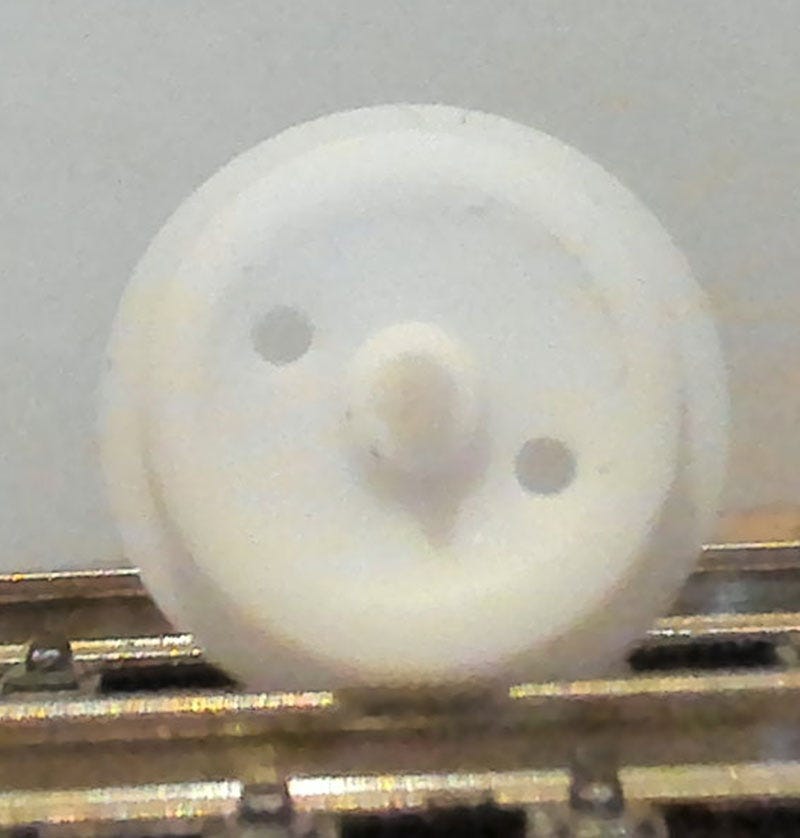
Design 08(b) - success
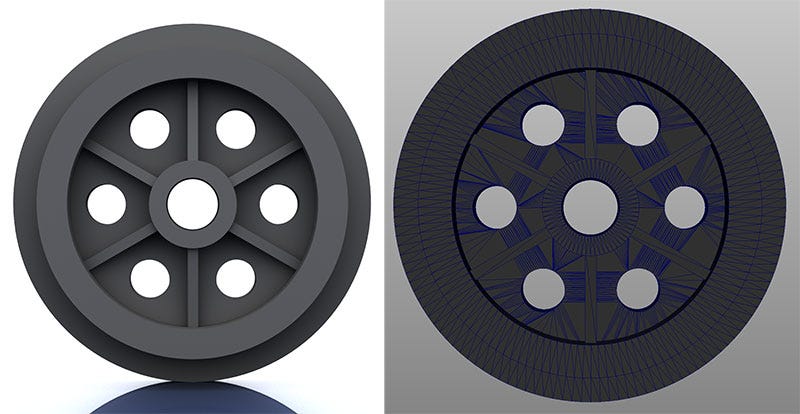
The additional hub holes on the original Design 8 looked fine in Maya, but we’re far too small when printed.
So this was a simple fix; enlarge the holes. Create a couple of larger cylinders and boolean them from the hub. How much bigger should they be? I guessed.
To me, they look far too big in Maya. They’re perfect when printed. I’m happy with this design now. I like it much better than the one without holes.
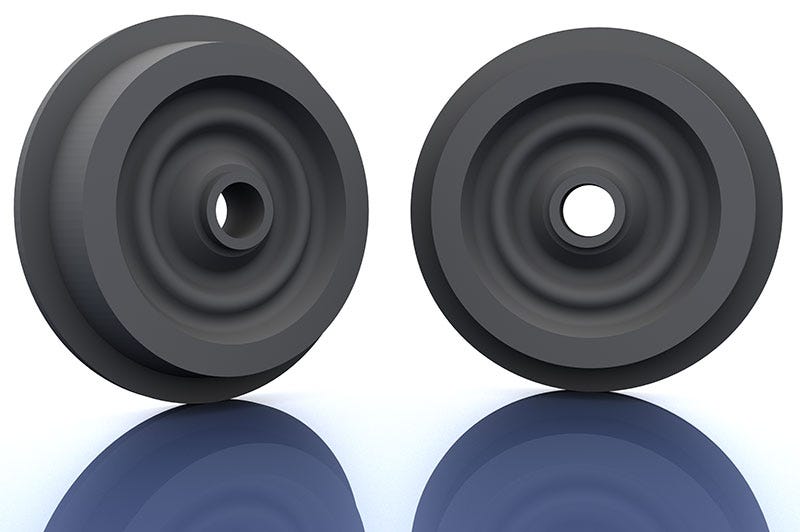
Design 9 - success
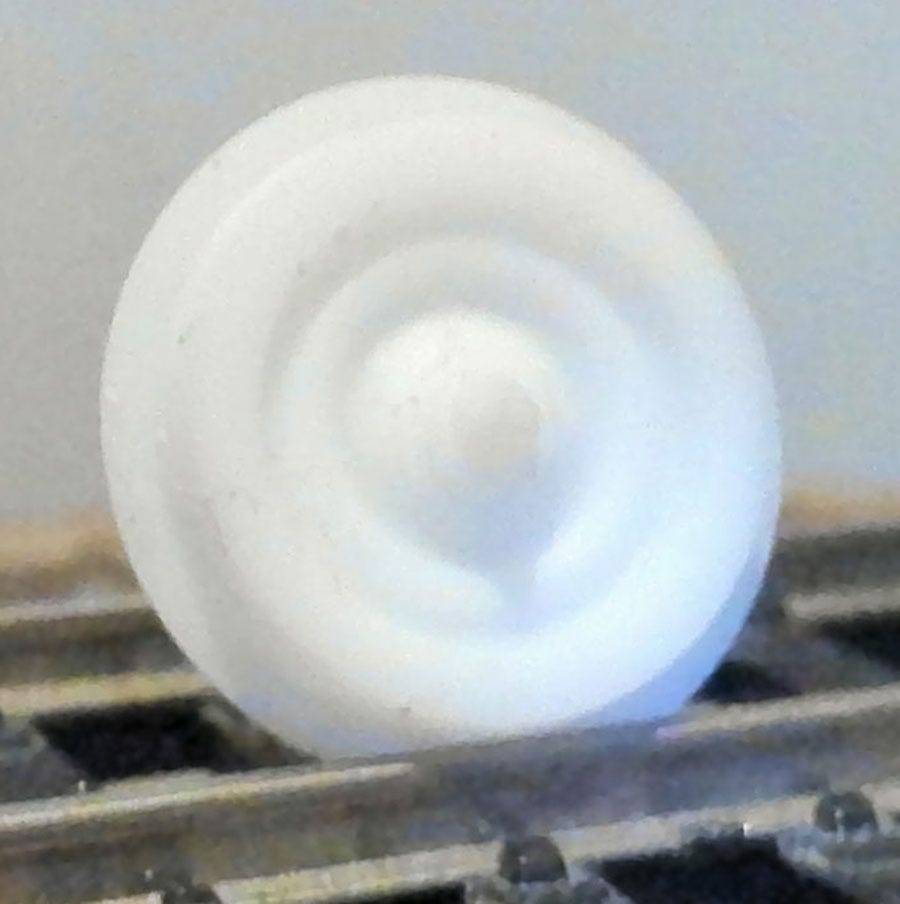
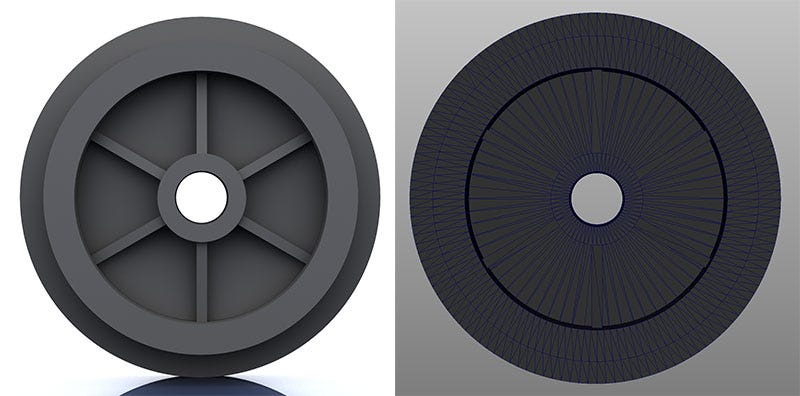
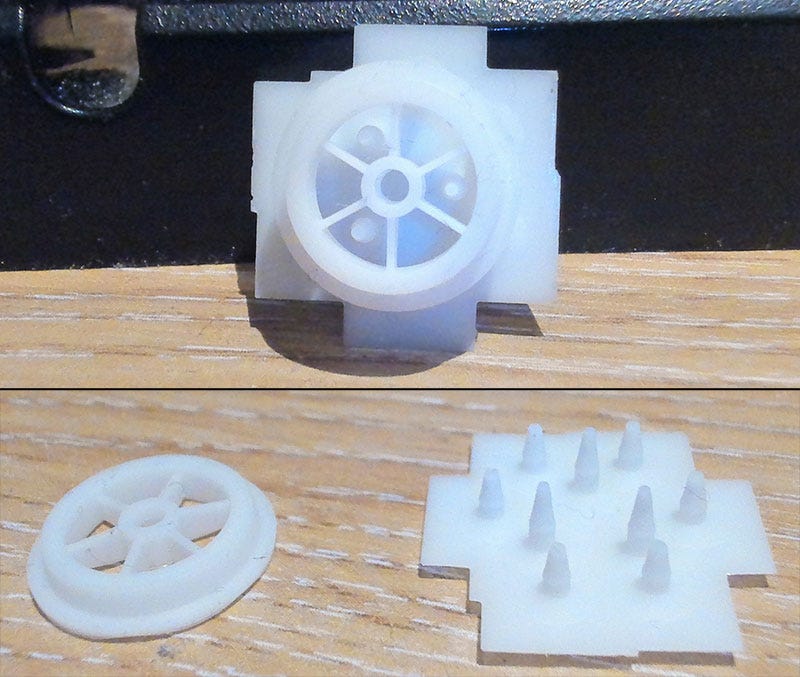
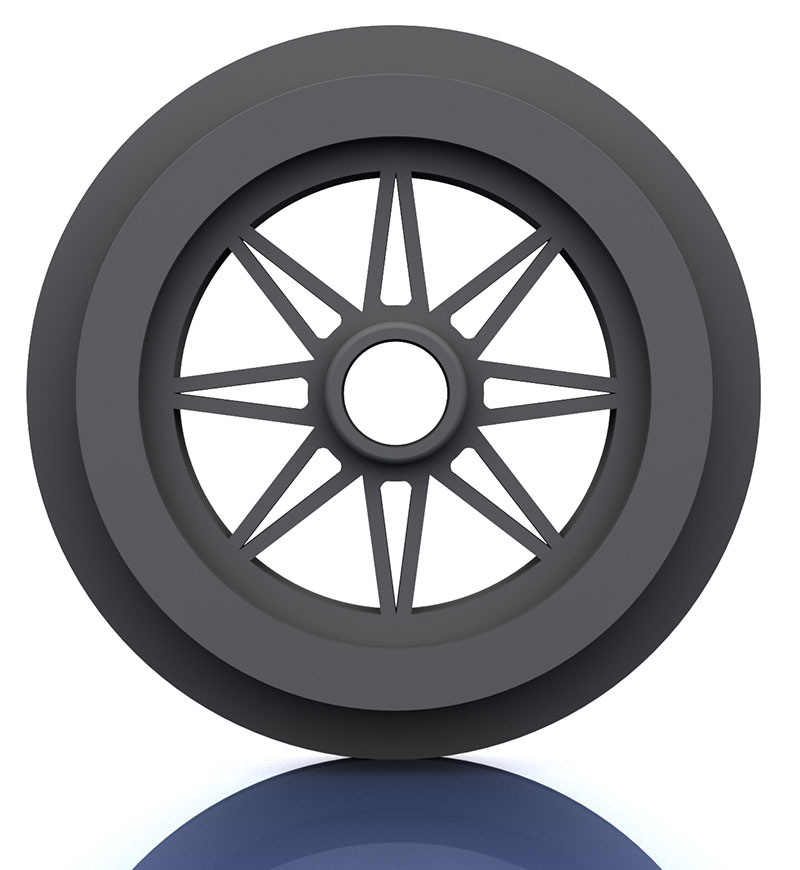
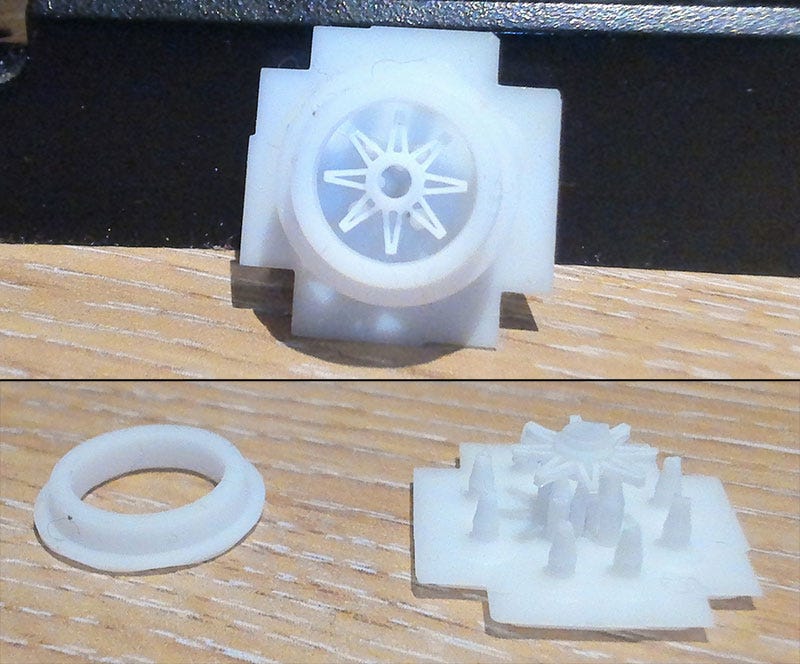
Another variant of Design 3 from a couple of posts ago. Was expecting this one fail due to the amount of polys and curves on something so small. Was very pleased when it came out perfect. It looks exactly as I wanted.
Very happy with this mesh. If I ever get around to making a custom chassis then this will be my wheel of choice. It looks crappy pictured in white resin. I don’t have any primer. Don’t have any paints at all!
Design 10 - failure
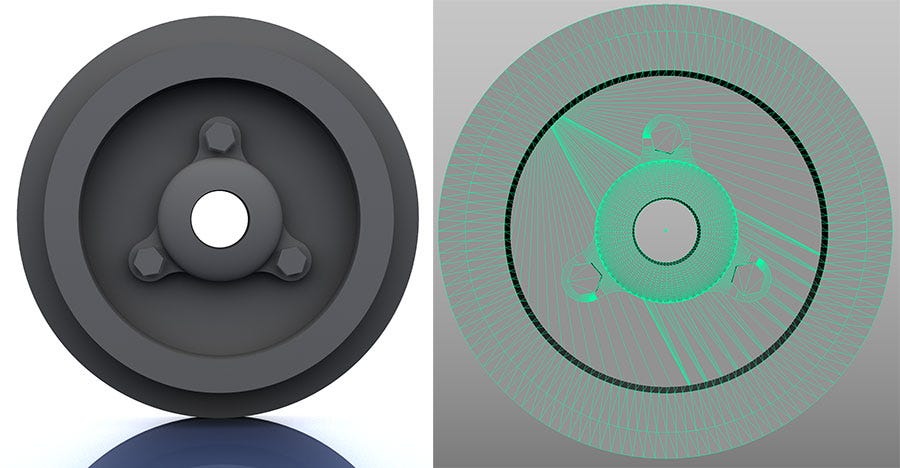
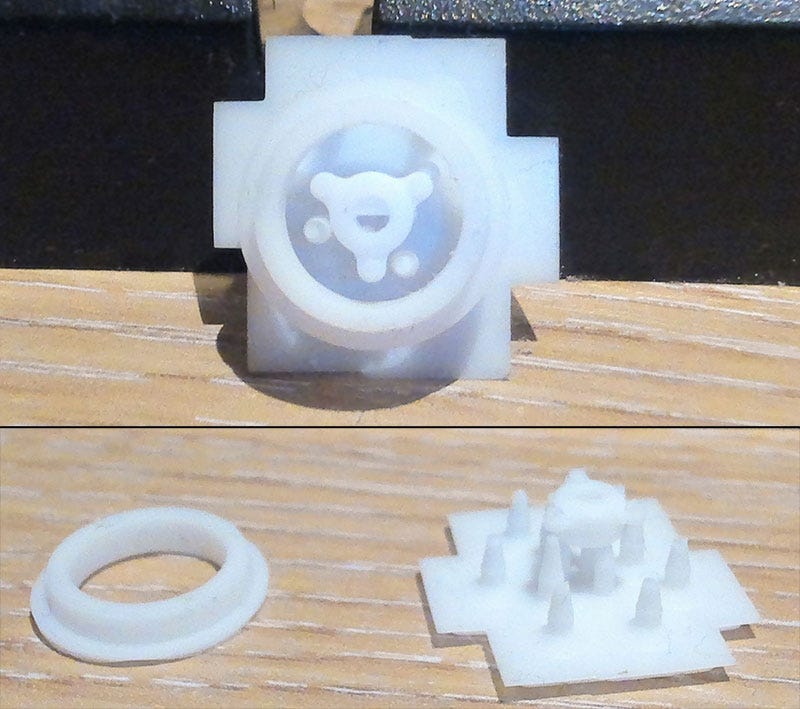
Was thinking this would print with the 3 inner bolts missing due to size. This is an 00 scale model, they’re tiny. They printed fine.
For some reason the flat section in the middle didn’t come out. Looked fine in the slicer program, but this marks the second time it failed. Although the first time nothing printed. So I’m winning!
The only issue I can think of is that I did a quick triangulate in Maya. This didn’t uniformly triangulate the inner area which failed to print. Given it looked fine in the slicer, I went with it. Could that be why it didn’t print?
1 of the inner supports failed to print but the other 2 did. There was also a strange slice across the inner hub where the axle fits. Which just so happens to be the same width as the area which failed to print. Curious.
But not so curious as to waste another print. I’ll file it under my failed folder and may try again. One day.
Design 11 - failure
I’m not sure this is the right model which printed. It’s very similar to Design 13, which also didn’t print. When I pulled them off the build plate, I forgot that there were a few very similar models.
Either way, it didn’t print. It could be an issue with the 6 arches being flush with the outer wheel or I need to realign the build plate?
Noting that these failures didn’t all happen on the same side of the build plate. So it’s unlikely to be a levelling issue. But according to the perverted dent heads on Reddit, I don’t know anything!
Design 12 - failure
Something printed. That’s a start. However it’s as though the scaling is off on the inner pylons. They look accurate in the photo, but they don’t scale to the edge.
I’ve looked at the model a few times and have no idea what’s wrong. The only issue I can think is the flush face issue mentioned in the previous post; the pylons don’t protrude in to the outer wheel, they’re perfectly flush to it. I used the wheel to slice them in to shape.
Perhaps it’s an issue with anti-aliasing on the printer? Maybe because the edges aren’t protruding inside the outer wheel mesh, the AA is misinterpreting them when printing? Could it be an AA with rounded object issue? The mesh is combined but not merged. If that makes a difference?
Design 13 - failure
Catastrophic failure. Possibly. This could also be the failed print from Design 11 as they’re very similar.
It could have failed due to the same reason as Design 10. It sliced fine, but is that odd triangulation across the center area causing bad prints?
Design 14 - failure
A definite catastrophic failure. The design is quite thick so it should have been fine. Plenty of supports and very little detail, relatively.
I didn’t really like the design but it filled up the build area and I was curious as to how it would come out. A lump of shit on the FEP sheet answered that question.
Happy to abandon this one.
I’m Done With Wheels
I would like to fix the failed prints, but I don’t see myself ever using them. So why bother? Too many weekends have been wasted designing, printing, failing and cleaning the vat. It’s time to let go. Onward and upwards.
Wheels connect to the chassis via a spike on the outer hubs. This mounting to the chassis masks a lot of detail on the wheels. So what’s the point in continuing to perfect more wheels when they won’t be visible?
…unless I design a new way to attach wheels to the chassis? I have ideas, but first I’d like to try something a little larger.
Using some common sense, I think my vat my be screwed in too tight? If it’s too tight then there may be too much of a gap between the sheet and build plate. That may be why I’m getting inconsistent results?
I’ll try loosening the vat screws and levelling the build plate. Because the next set of prints are for my chassis and they’ll take longer to complete. Time is money. So is wasted resin.
At least I got a few successful prints. I’m happy with what I have working.


