3D Resin Printing 00 Model Trains #13
Prototype hook coupling system and a new resin colour!
The Coloured Elephant in the Room
I buy resin when it’s on sale. Colour doesn’t matter, only brand. This is because different colour resins can be mixed. Otherwise people would get down to a few milliliters of resin and not be able to print anything with it.
When I ran out of white resin, I switched to green and mixed what little white remained in to the vat. Making a very light shade of green. Colour doesn’t matter.
As the white mixture reduces in my vat from more printing, the green will become darker. Hopefully the detailing in my pictures will be more prominent with green.
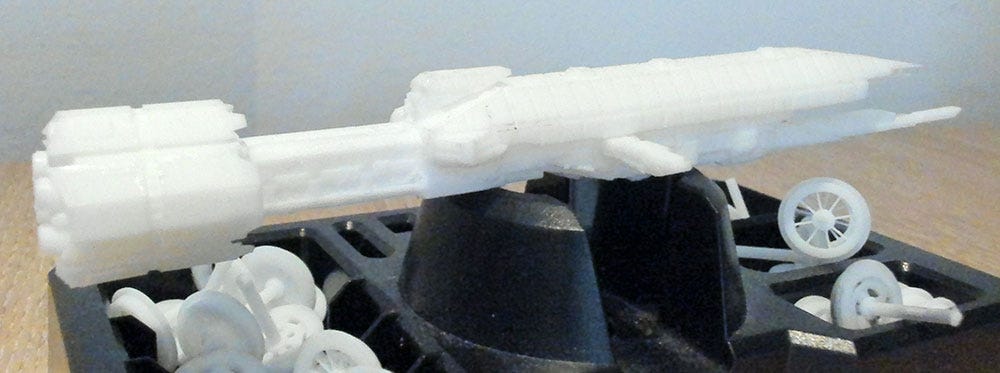
Noting that the white resin was a 1 liter bottle and the first I ever used. I’ve printed a big spaceship, a robot, multiple statues and all my train test prints. It goes a long way.
Ideas for a Hook Coupling System
I need a way for my chassis to hook on to other carriages. Nothing unique, just a basic coupling system. The word of the day is reliability.
All I’m going to do is clone a couple of hooks from retail carriages I have laying around, see which works best and use that on all my prints. I don’t want to waste time focusing on these relatively insignificant details. People may not care about wheels, I guarantee no one gives a flying squirrel about coupling hooks so long as bond tightly.
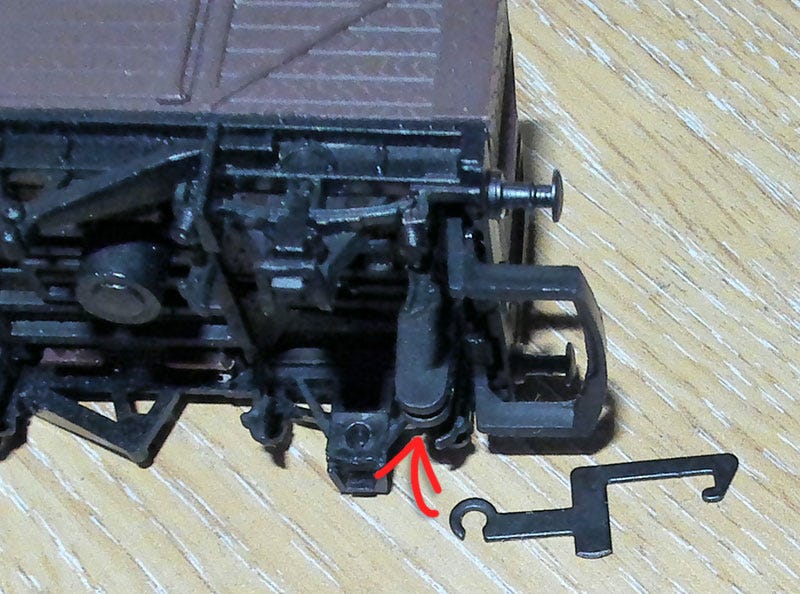
The first design I’m copying is the most common design:
It’s a metal hook which clips on to a thin plastic beam. These molded plastics feel a lot stronger than my prints, regardless of cure time, which is a red flag. Similar areas will need to be much thicker for me to prevent splitting or warping when fitting the hook.
While I imagine people could want to swap out wheels every so often, the hooks should be a permanent fixture. Unless they break. I would think the chassis clip holding the hook is more likely to snap, at which point the system becomes useless. There’s no replacing that.
The other example I have is from some molded bogies I bought for a couple of pound. My thinking was that they’re almost guaranteed to be better quality than what I can print. When I get around to printing larger carriages, I can use these bogies instead of designing my own.
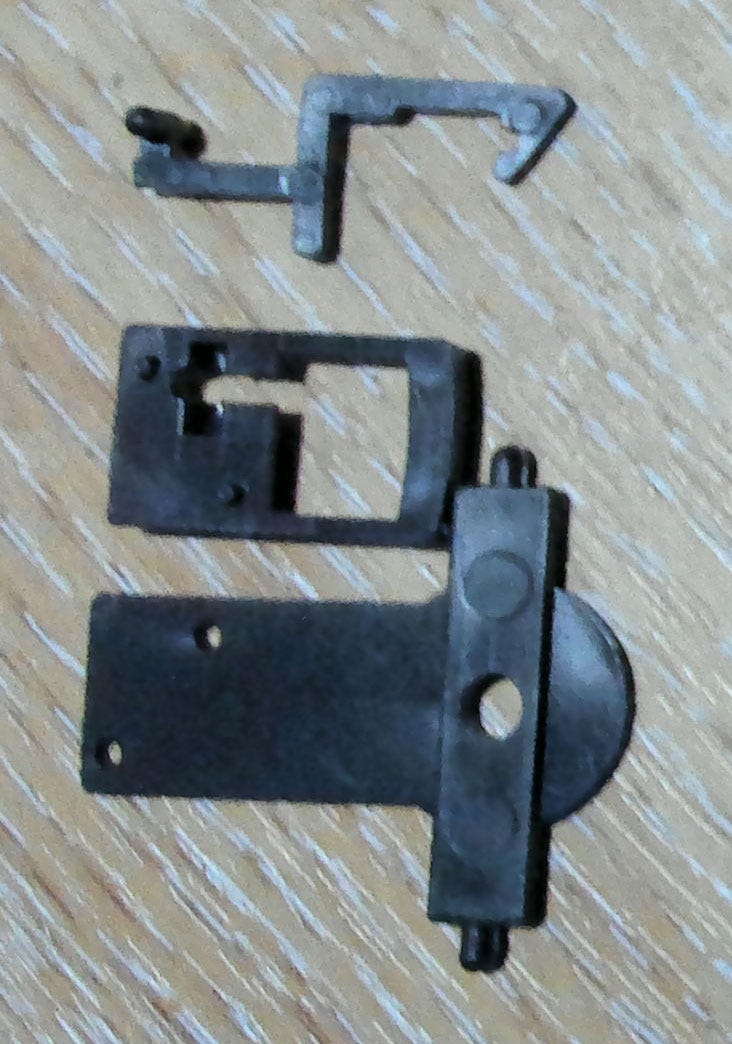
This the coupling system from my kit:
I’m going to design both coupling systems on a single chassis, 1 at either end. However I think this latter version, the PECO kit, will be too hard to replicate. It requires very fine work which my 2k printer will struggle to produce reliably.
Printing a Hook Coupling System
This one took longer than expected to design. I’m not much of a 3D modeller or engineer and this print needed to be the most accurate to date.
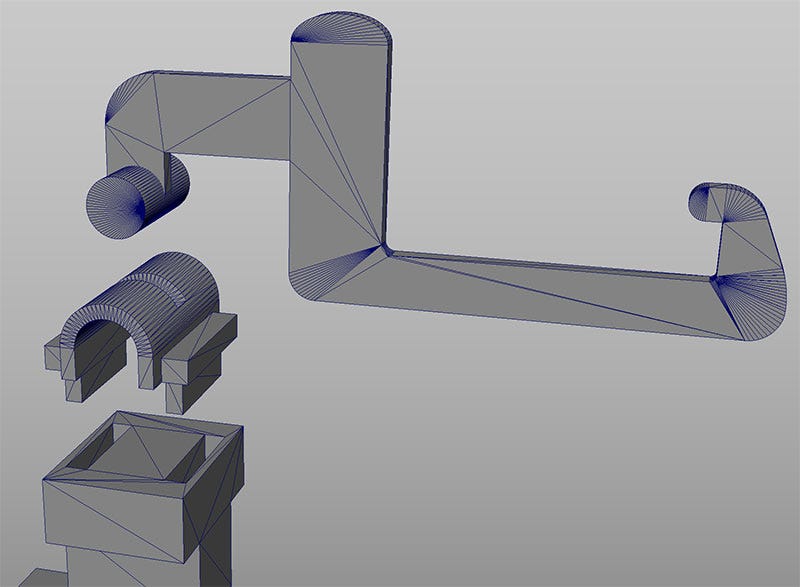
It looks right…
The left side is a replica from my template wagon, the right is a replica of the PECO kit. While designing it I became increasingly more concerned with the tolerances required for the PECO system.
Reality was a problem with my design. These pieces may fit together in Maya, but how can that hook sit in the cradle when there’s no way for it to slide through. Didn’t think about that! Genius.
Everything relating to the new hook system was either slightly or dramatically increased in size. When prototyping 3D prints, over-sized objects can be filed down until the desire tolerance is achieved. Useful if you’re unsure of exact measurements. The alternative is printing too small and having a completely useless print.
What Not To Do
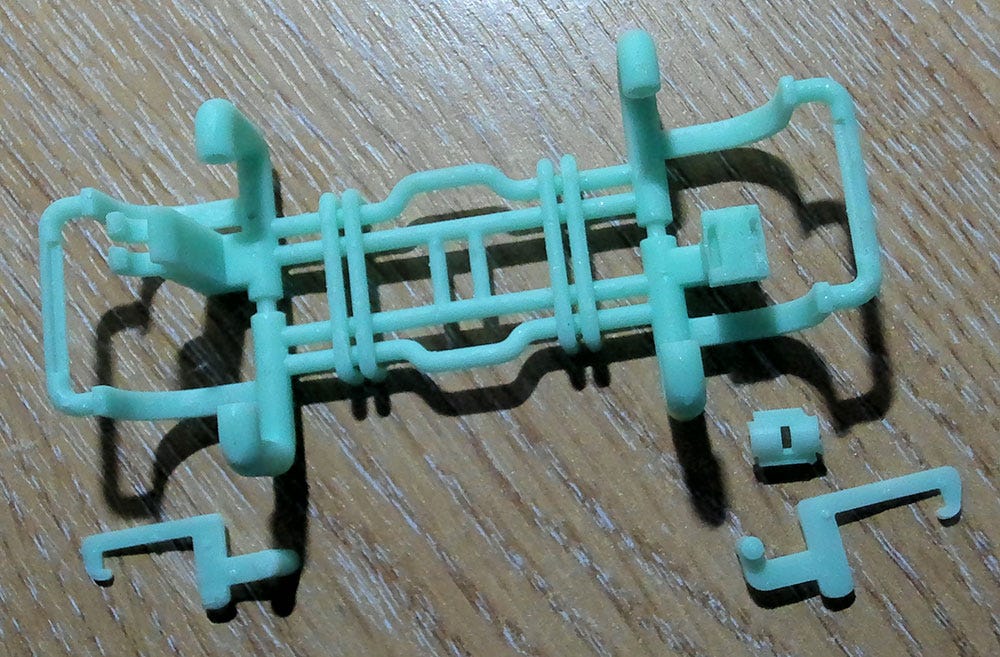
The print came out near perfect at 0.03 mm. Some holes and edges need a little cleaning up as usual.
Unfortunately, the slotting system for the PECO design is a fail. The rails on the little hood, that the hook rests on, printed fine. However the holes they’re meant to fit in did not. I tried to hollow them out a little better, didn’t help much.
There are ways to mitigate this issue. I could change the print angle, print settings or redesign the locking system entirely. None of which I will do because of ‘design to fail’ aspects:
If I use this locking system, or a variant, what happens if the clip falls off and the operator doesn’t notice? The hook falls out and the entire system is worthless without printing another. There’s a good chance of it falling out unless it’s glued in.
Gluing in the clip leaves the possibility of glue mistakenly reaching the roller. If it does, the hook is worthless.
With the clip glued, if the hook ever breaks it can’t be replaced. Or at least without a lot of work.
Now I know what not to do.
What To Do
Fortunately the alternate hooking system works very well. It’s the correct height, clips in with minimal force, can easily be removed, couples firmly with a strong bond and rotates up/down freely.
There are occasions when the hook doesn’t reset to a horizontal position after decoupling. I’ve encountered this sporadically on all production stock I have, so not concerned about it. The roller and hosing can also be filed down or greased to assist in this position reset. A bigger issue would be if the hook didn’t lock on to another carriage. Which it does. Every time. Perfectly.
I’ve swapped the hook in and out of its clamp a dozen times so far. It’s a perfect fit. No filing or post-print modification. The clamps are big enough so that they don’t feel like they’re going to snap anytime soon.
Obviously there’s a problem. I designed it!
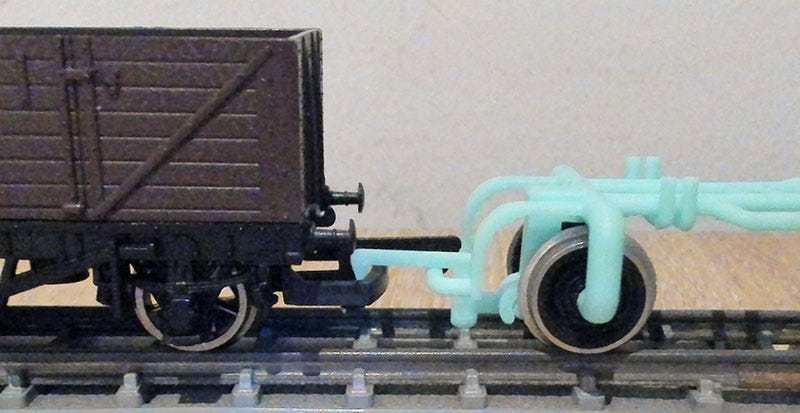
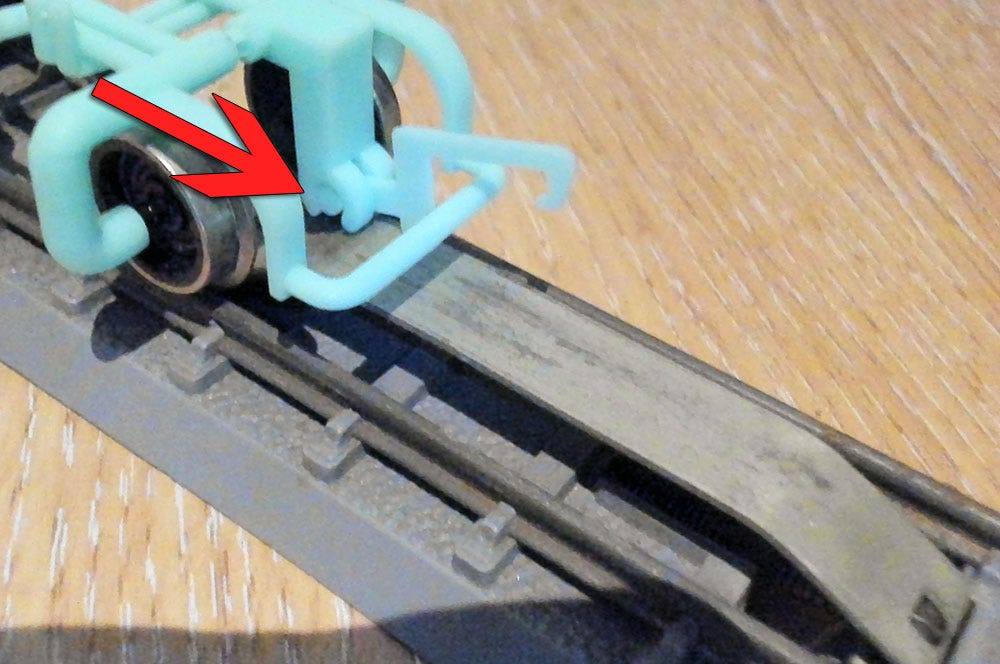
The image above is my chassis running on a piece of Triang track with a decoupler. It’s the most extreme decoupler I have in my eBay job lot of crap. Others include little spring islands which seem quite ineffective but are in wide use. As this Triang design is the most extreme, I’ll be using it for designing clearance. Wish I had found it before I printed.
If you haven’t realised, the clamps holding my coupling hook are hitting the decoupler on the track. It’s trickier to address than it sounds as the clamps really need to be this size for reliability.
Moving the clamps closer to the middle of the track will yield the same results. Moving them outwards would cause them to grind against the wheels.
I have some ideas…


