3D Resin Printing 00 Model Trains #5
Another set of wheel designs with less inspiring results
Don’t Know What Went Wrong
I designed 7 more wheel sets, used manual supports, as I did with my first wheel set in the previous article, printed with the same resin and settings. All but 1 failed.
The wheel that succeeded didn’t look as good as I had hoped. Not a total loss. There’s nothing to really fix, it’s just a scaling perception I miscalculated. So what happened?
The Failed Prints
Resin printing seems far more random than filament. You can use the same settings, same resin, same model and sometimes prints just fail for no reason. People will throw nonsense suggestions around like levelling, height and even temperature. I’ve ran dozens of prints so far and it’s random. Kind of wish I had bought a filament printer.
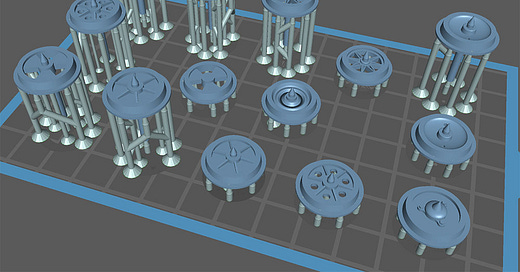
This is what I tried to print:
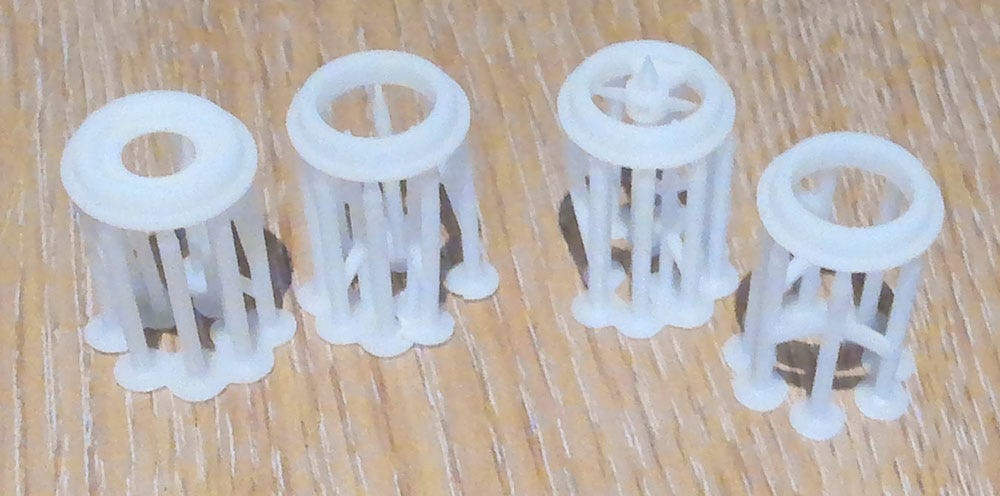
…and this what came out of the vat:
Plus a load of crap stuck to the FEP.
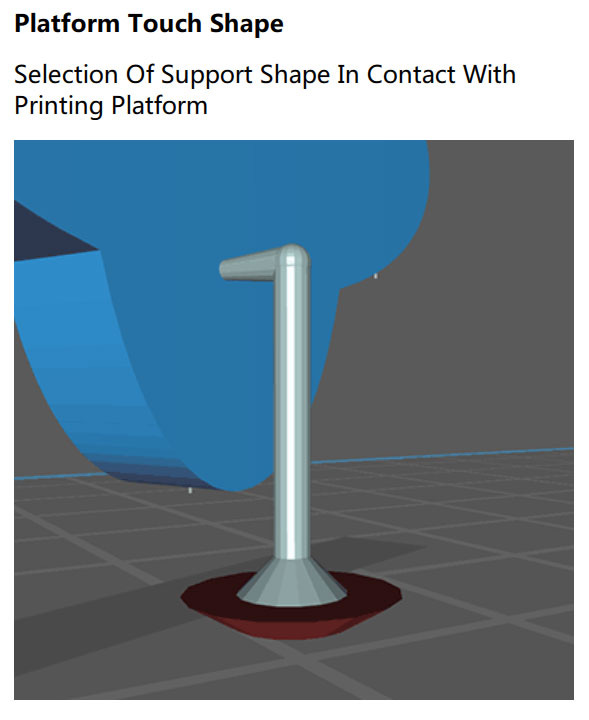
I’m not entirely sure what went wrong but the supports look suspicious. I didn’t notice when setting up the supports that a lot of them didn’t have platform touch shapes.
That would explain why so many were stuck to the FEP. It also explains why the inner wheel areas appeared to collapse; they were also missing heavier anchors at the base.
Supports weren’t any thinner than my previous prints. Complexity was higher but I figured the detail would be lost, not a total failure. Supports are all medium or heavy and all manually placed. I’m thinking the touch is what caused all my problems.
However, perhaps I should stop printing the wheels laying flat? Set them up at a slight angle? I’ve read that’s a good thing to go. I’ll bear that in mind going forward.
There may be an issue with how I set create models too. These wheels were the first set I tried to optimise. That’s not the word. Professionally finish? No. If you’ve ever seen ‘professional’ models in products you pay for, they appear good on the surface but are a mess underneath.
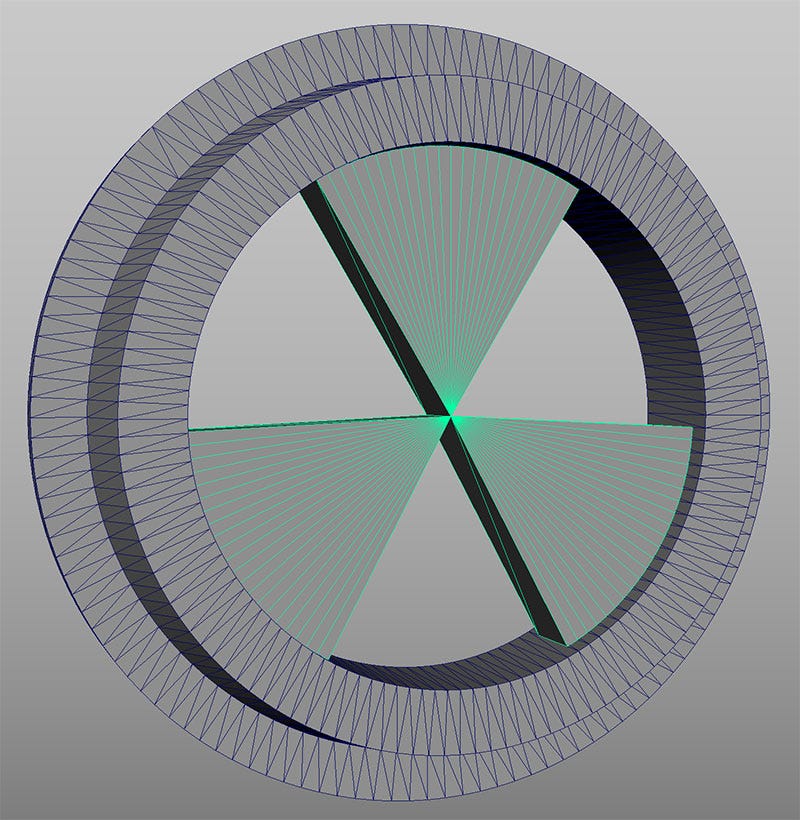
I always take a few minutes to cut up objects to they are flush with adjoining objects, rather than protruding inside. To me that’s how a model should be. Does the slicer not like that? Does it prefer overlapping objects when rendering a layer?
First I’m going to fix the supports and print again. If that works, I’ll assume the flush meshes are not an issue. Until they become one.
That’s for another day. I’m too busy.
Design 08
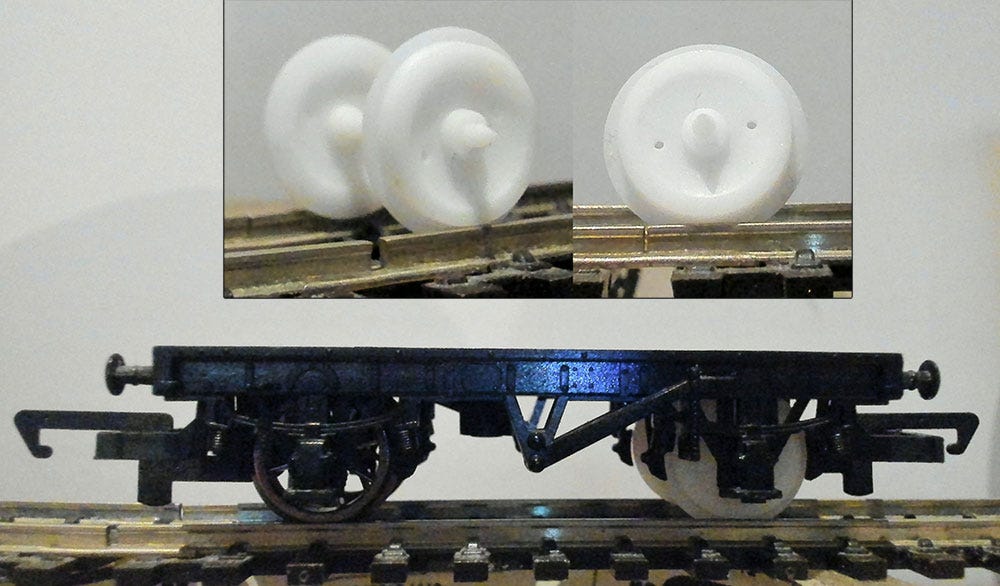
Although this one printed successfully, it didn’t turn out as expected.
The mesh is a variation of Design 3 from the previous post. I took the same concave wheel, added a different inner hub then cut a couple of holes in. Some real world examples I found had these holes cut in so I thought it would look good.
It looks alright. I’m happy that the tiny holes printed so accurately. They’re just tiny. They seemed bigger in Maya. This is an easy issue to address. 30 seconds to increase the size of the holes. Hopefully not so big that the mesh collapses!
Next Time
I was hoping to move on to chassis design, but these wheels should be finished now while I know what the problems are.
I’ll fix the supports, drill bigger holes and watch the old up and down…


