2 Things At the Same Time
I was printing these wheels while writing previous posts and designing test axles. Which means all these meshes use my original axle design. My 3D printer is not fast. So I’m doing 2 things at the same time which kind of throws out the ordering of these posts. That’s why the wheels on the following are all fixed.
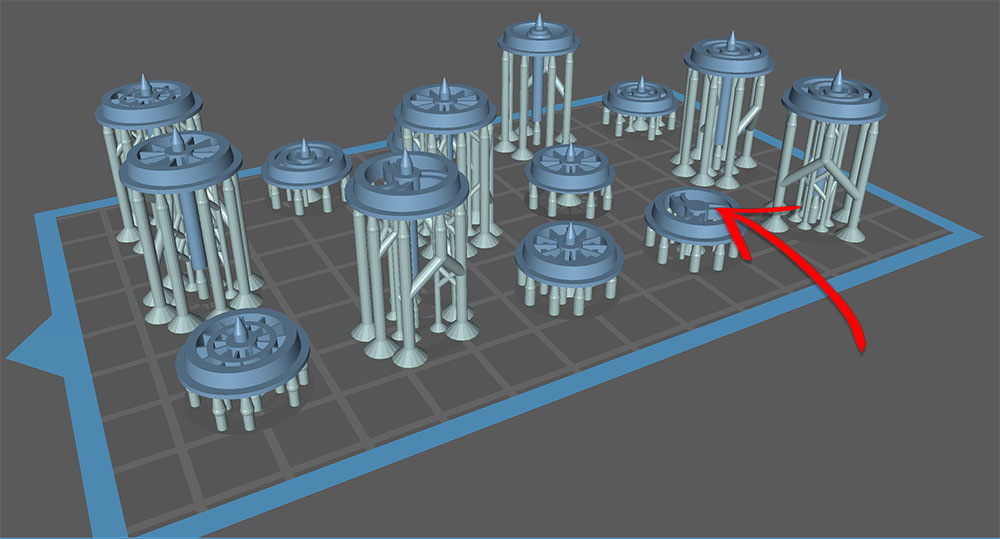
Every design here was printed at the same time, in the same run. Printed at 0.02 mm with a print time of 3 hours 24 minutes.
All 7 prints needed the cavity where an axle fits slightly ground out. There’s a slight discrepancy in each between depth. It’s a minor amount of work after printing.
I messed up the export on one of the wheels. Somehow I forgot to merge the axle spike which connects the wheel to the chassis. If I really cared, a spike could be printed separately and glued on later. As these are only for testing designs, I’ll leave it for now.
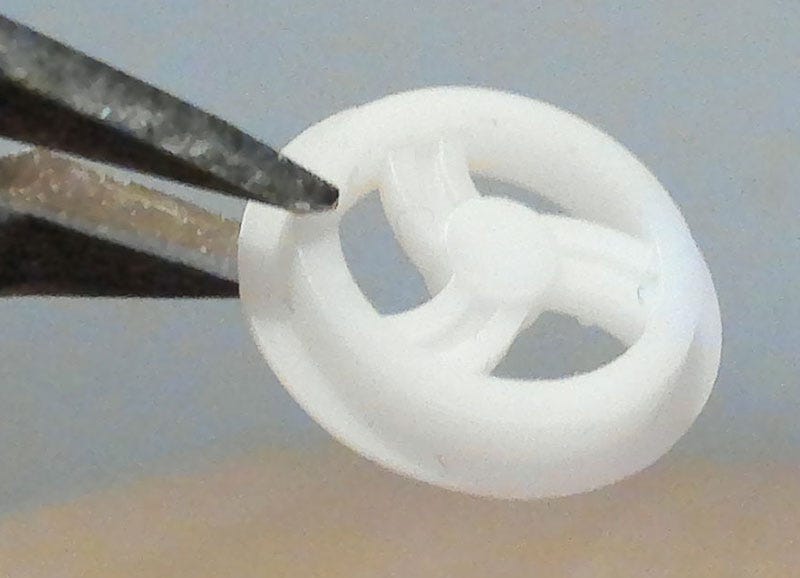
These models were printed, cleaned and UV cured. Supports were then removed and lightly filed down. That’s all. Most of them could do with a little cleaning and filing in some areas. I wanted them left as original as possible to demo what a 2k resin printer could achieve.
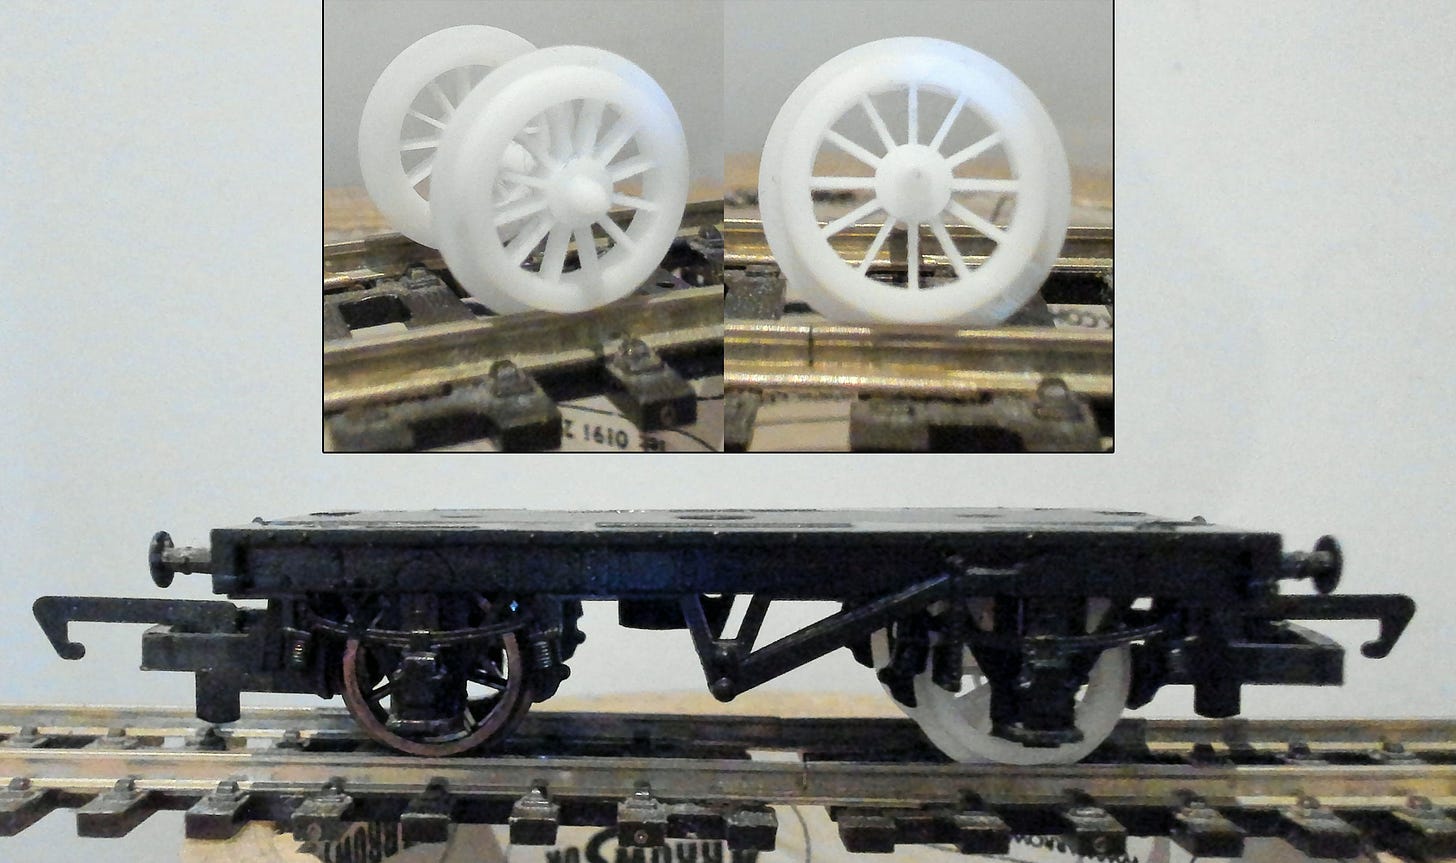
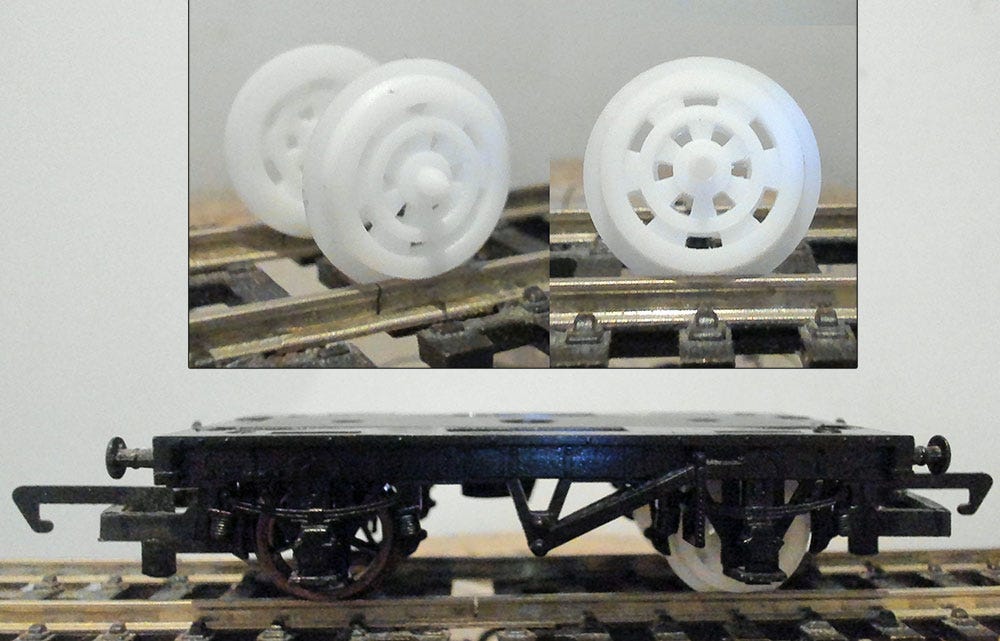
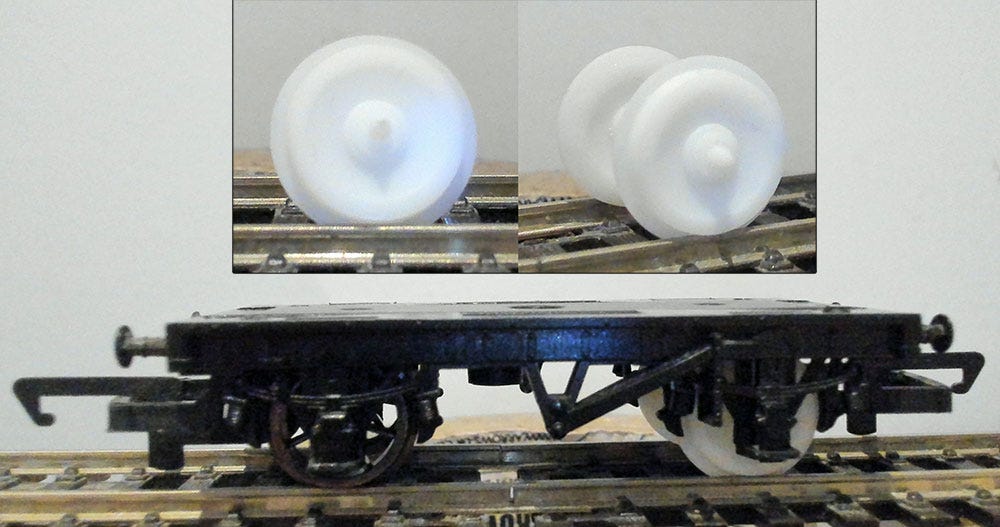
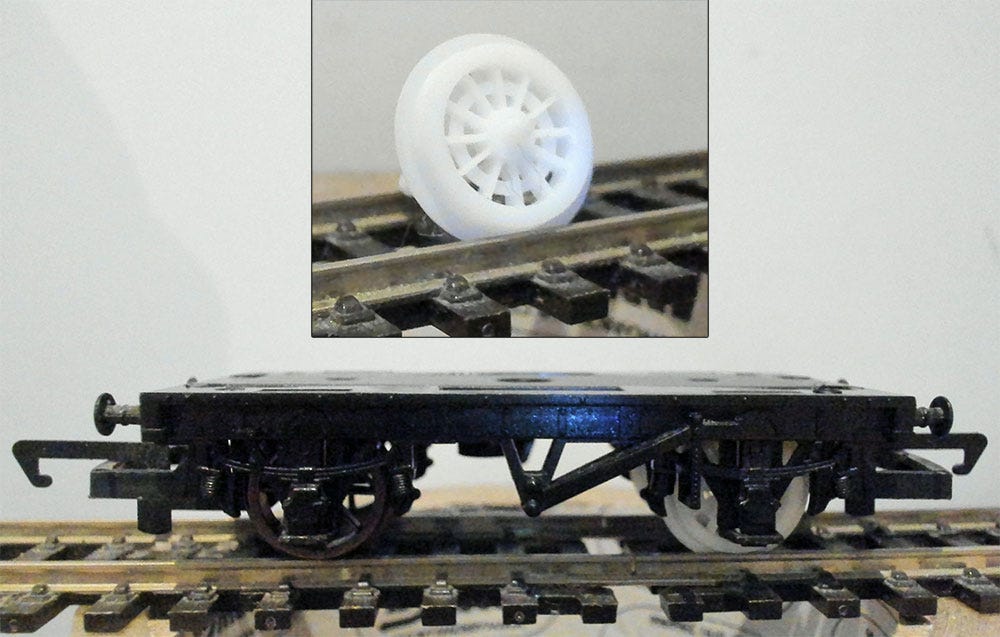
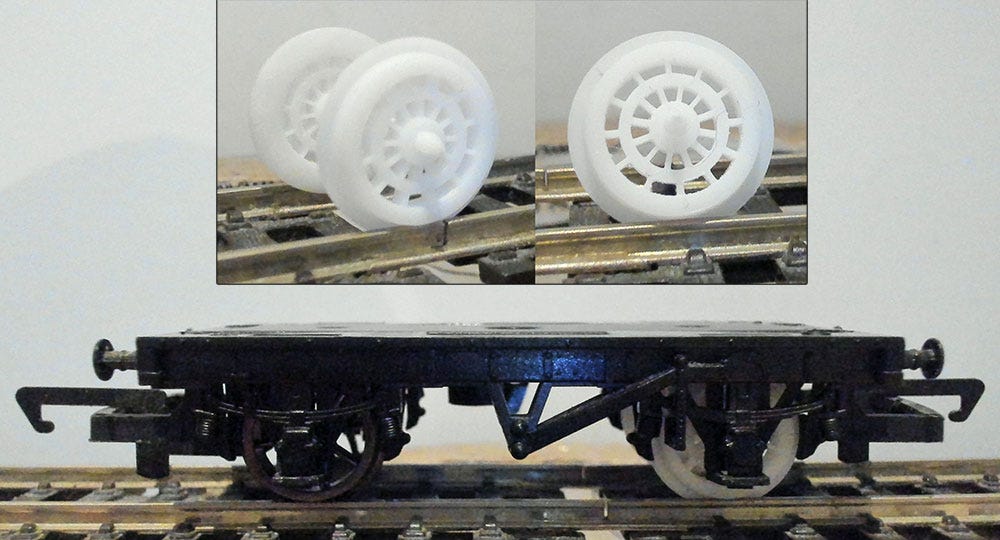
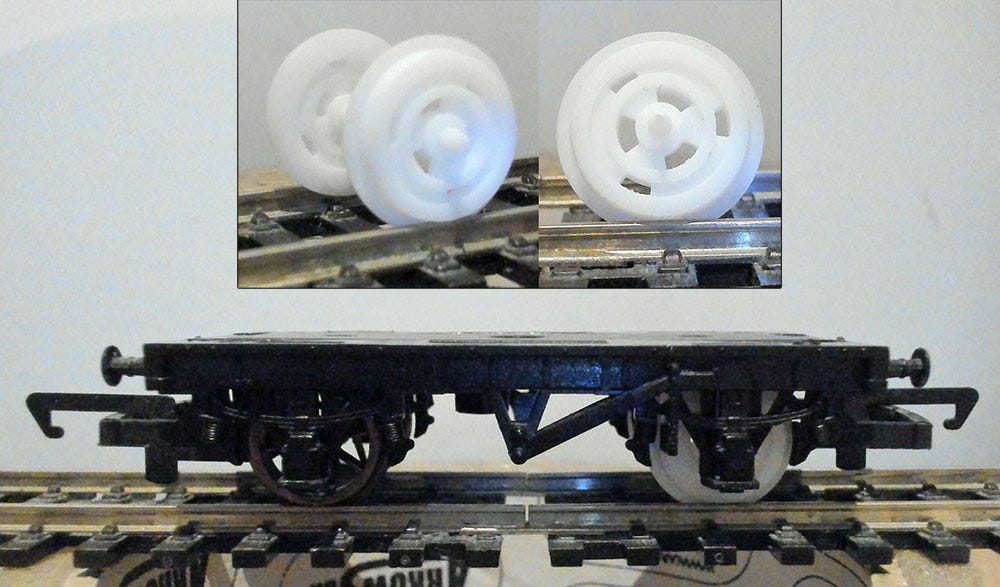
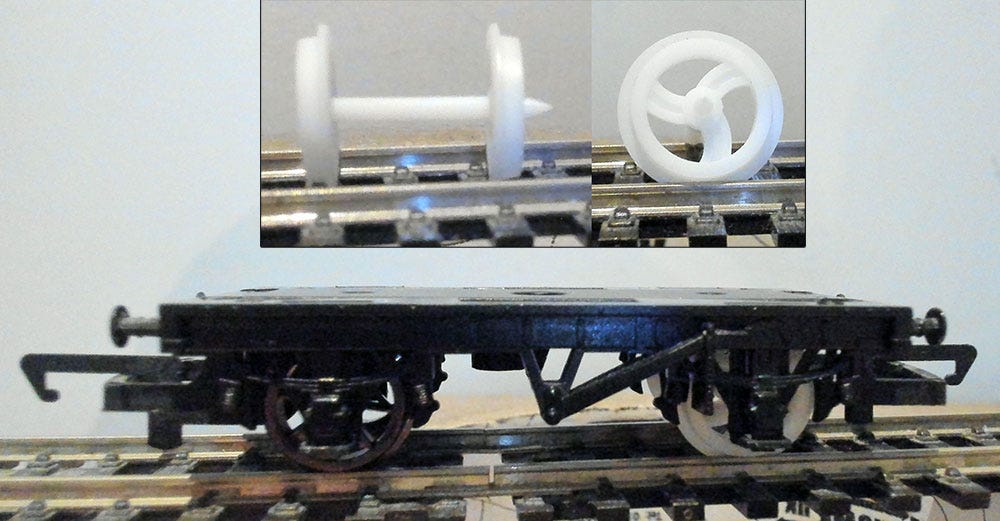
This was probably all a waste of time because I took some pictures with the wheels attached to a chassis and they’re barely visible. Anything white doesn’t show detail very well, but there’s no point in this level of detailing when the chassis blocks most of the wheel. Maybe I need custom chassis design too?
Design #1
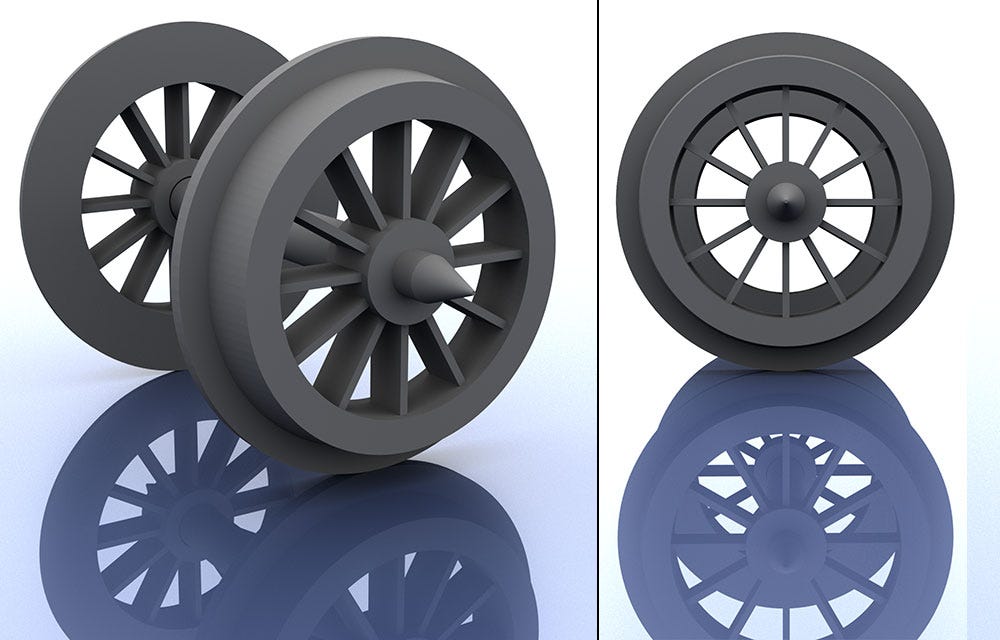
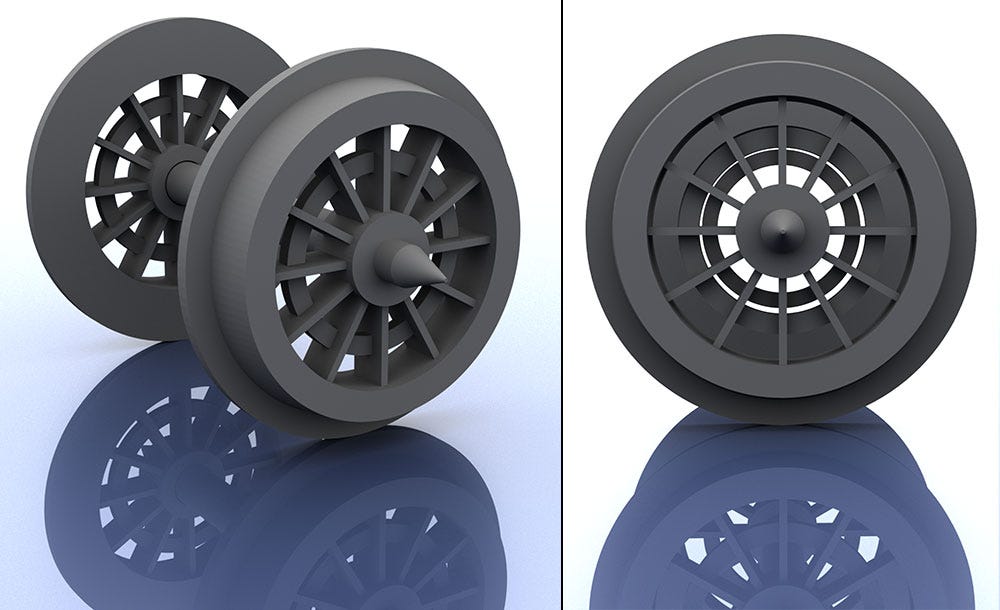
I took my original concept design of 8 spokes, thinned the spokes a little and increased the number to 12.
Might be good for a lightweight chassis design but looks too frail for a heavy load.
Design #2
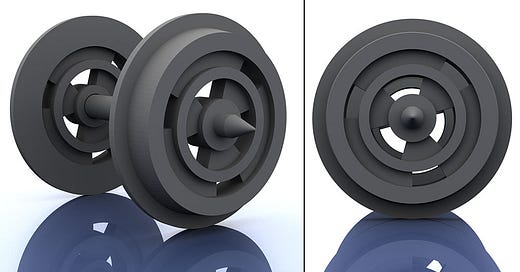
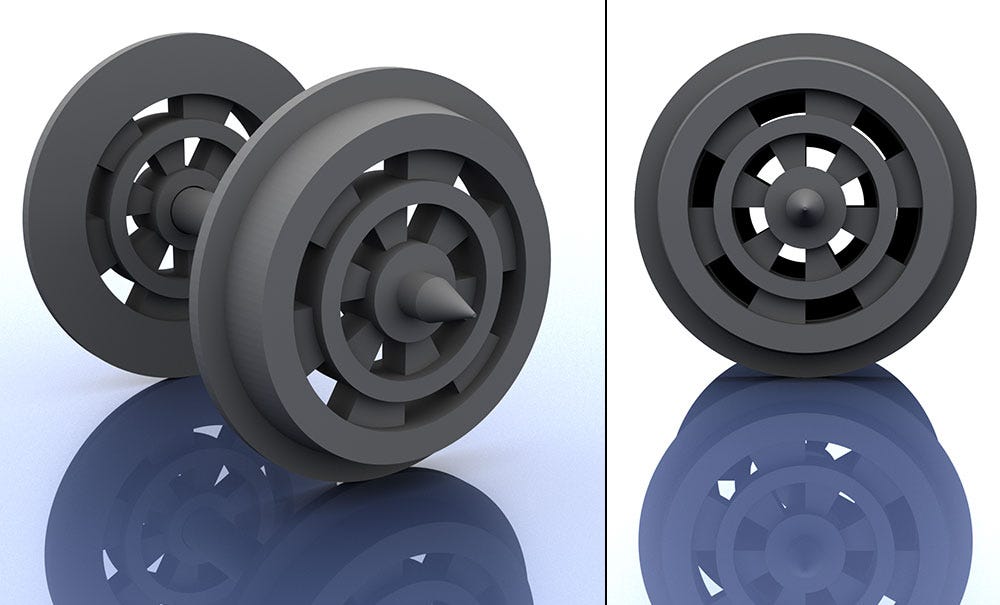
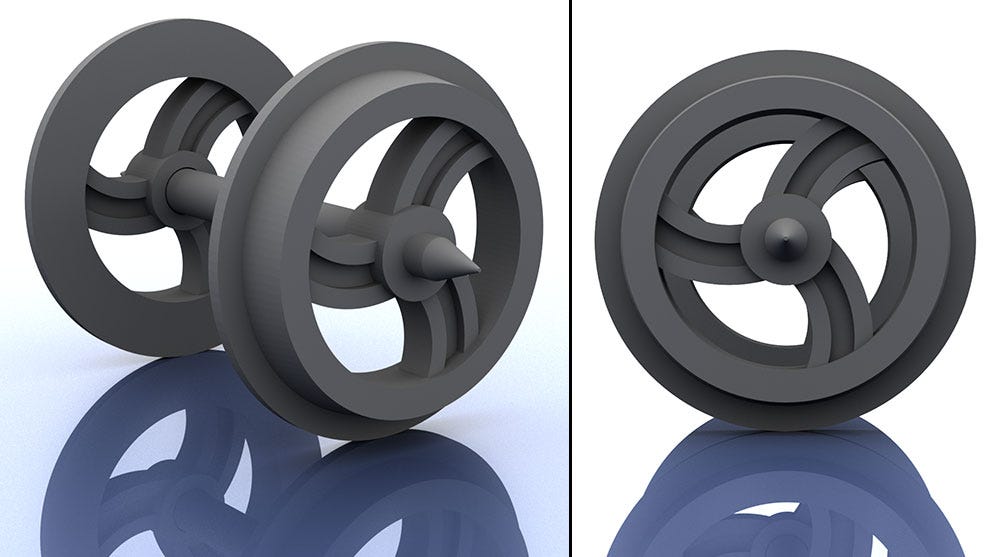
Tiered spoke system with an inner ring. The spokes are a lot wider and fanned. Inner and outer spokes also overlap a little.
This is my favourite spoke design. So far.
Design #3
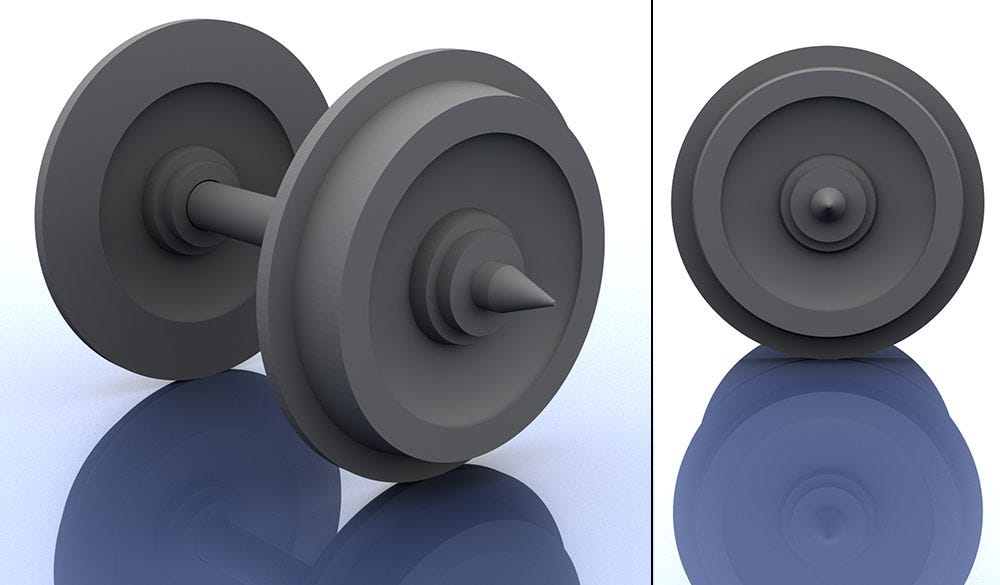
Generic heavy industrial design. More realistic but boring.
Wasn’t sure how well the concave exterior would blend with the outer wheel. It looks a little sharp in the render but it doesn’t when editing the model.
Turns out it is too sharp and creates a hard edge. It can be filed after printing of the gradient towards the outer of the wheel could be smoothed. Or left as is since the sharp edge makes it feel more realistic.
Design #4
Modified version of design 1. Simply added the inner circle from design 2 and made it a tad thinner.
I think it makes the wheel look stronger and less than one off a bicycle.
Design #5
Slightly modified design 4 so that the inner circle area was a lot wider. The inner spokes were rotated by 15 degrees so that join the area between the outer spokes. Was surprised this one printed so well.
Design #6
It’s design 5 but the spokes have been merged in to large triangular areas. I prefer this an industrial design over the design 4, which was a little generic.
Design #7
Thought I’d try a wavy spoke design to fill up the build plate. I know the wheels can be printed with decent accuracy, but wasn’t sure about the spokes.
It printed fine but I’m not a fan of the design. Maybe if the spokes were bigger while still being wavy and grooved?
This was the model for which I forgot to spike one of the wheels. Which means the chassis will collapse down on the wheels.
In Summary
The printer held up better than I thought. It should be able to handle N gauge chassis’ but I wouldn’t dare attempt 3D printing N gauge wheels. When I finally get around to them, I’ll buy some metal wheels from China.
There are a few more designs I’d like to try before moving on to to building a full chassis. Quite enjoying designing these wheels.


